
How To: Build A Custom Range Hood

Happy Tuesday Everyone! Another fun tutorial I wanted to share with you all is how I built our custom range hood cover in our old house. This was probably one of the most talked about things in my home whenever someone new came over to visit. It is definitely a spark of conversation!
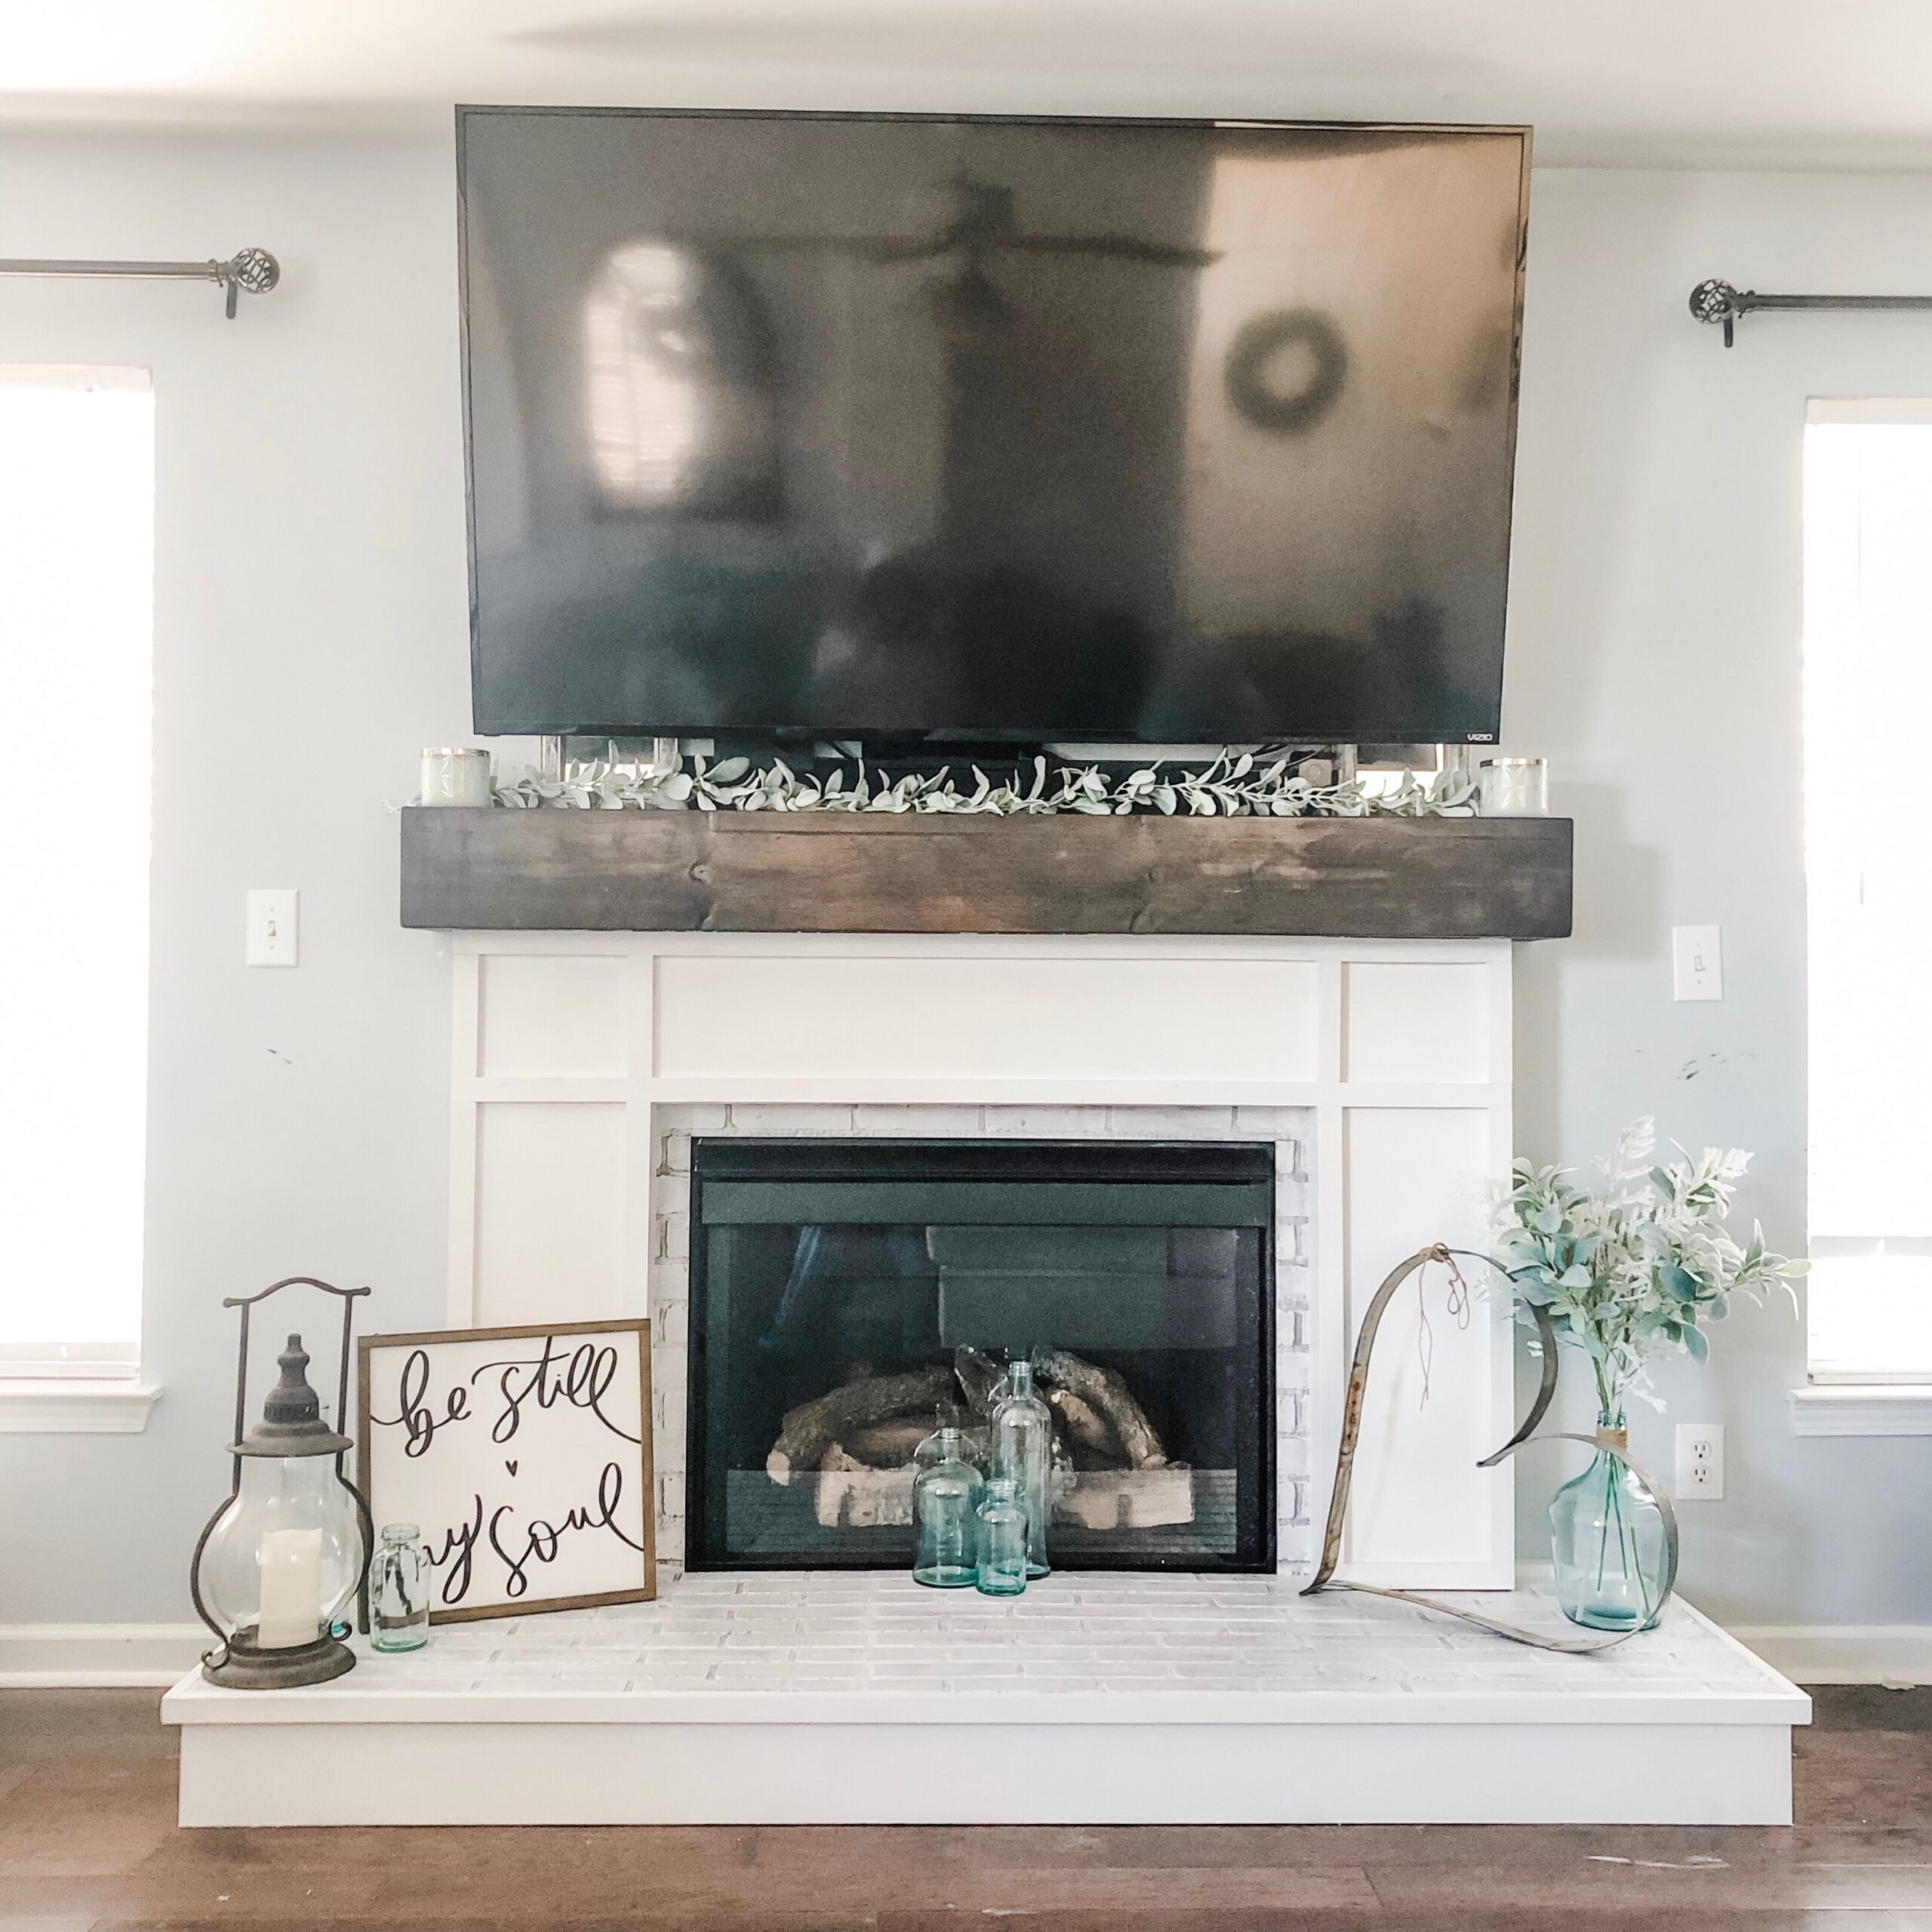
Just as I did with the fireplace in the old house, I am going to show you a picture of the BEFORE, when we first moved into the house…#BraceYourselves
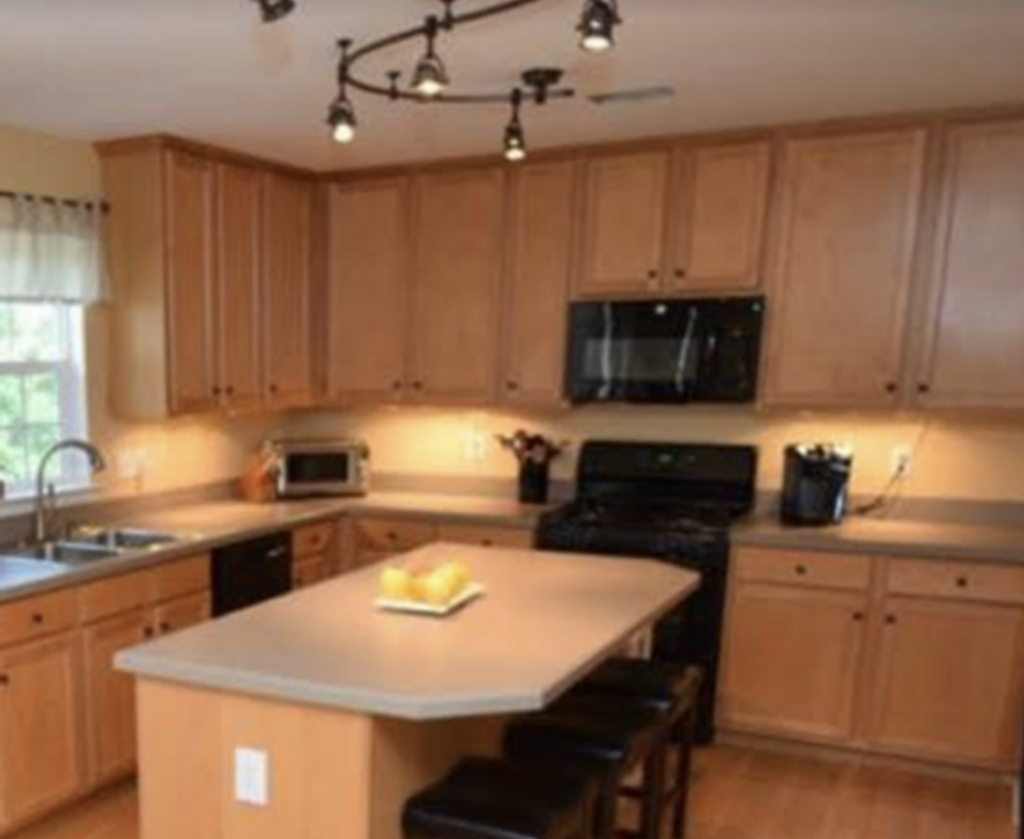
I know its a blurry picture (sorry about that, it was from the old real estate listing-so not the best quality). But HOLY ORANGE!!! I know this was the “in” style not too long ago but #OMG everything about this kitchen had to be changed if I was going to cook in this kitchen and enjoy it!
The couple before us painted the living room and kitchen a really pretty robin egg blue color before we moved into the house which brightened it up some. I painted all the cabinets with Valspar cabinet enamel in white as soon as we moved in, even before we moved any of our belongings in. I knew if I didn’t do it right away, that it would take me forever to paint around all of our dishes etc. I will make another post about that later.
So this is what we had to start with: a built in microwave over the range.
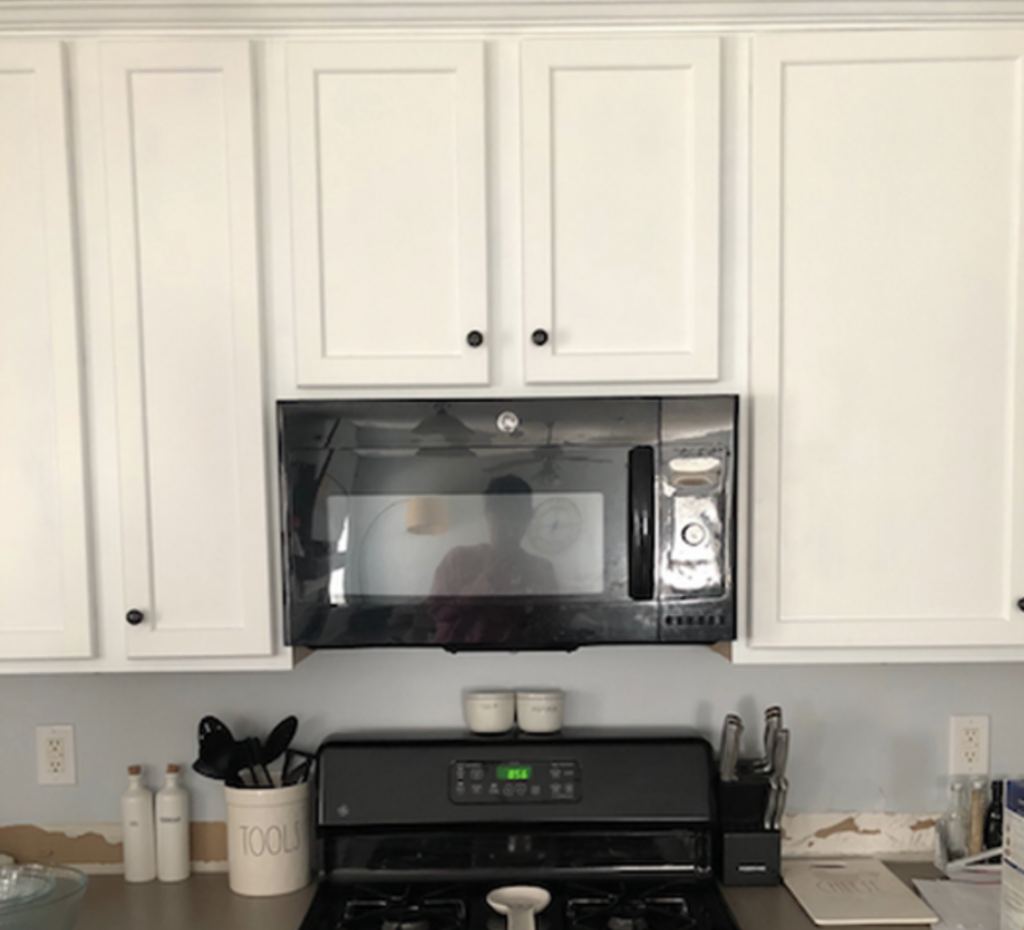
Originally I thought about moving the microwave to the island, but that didn’t happen…another conversation for another time! But first step was removing the old microwave. This was surprisingly simple. There were a couple bolts that hold the microwave into the cabinets above. Loosen those and unplug from the outlet located in the upper cabinets, and the microwave will come right out.
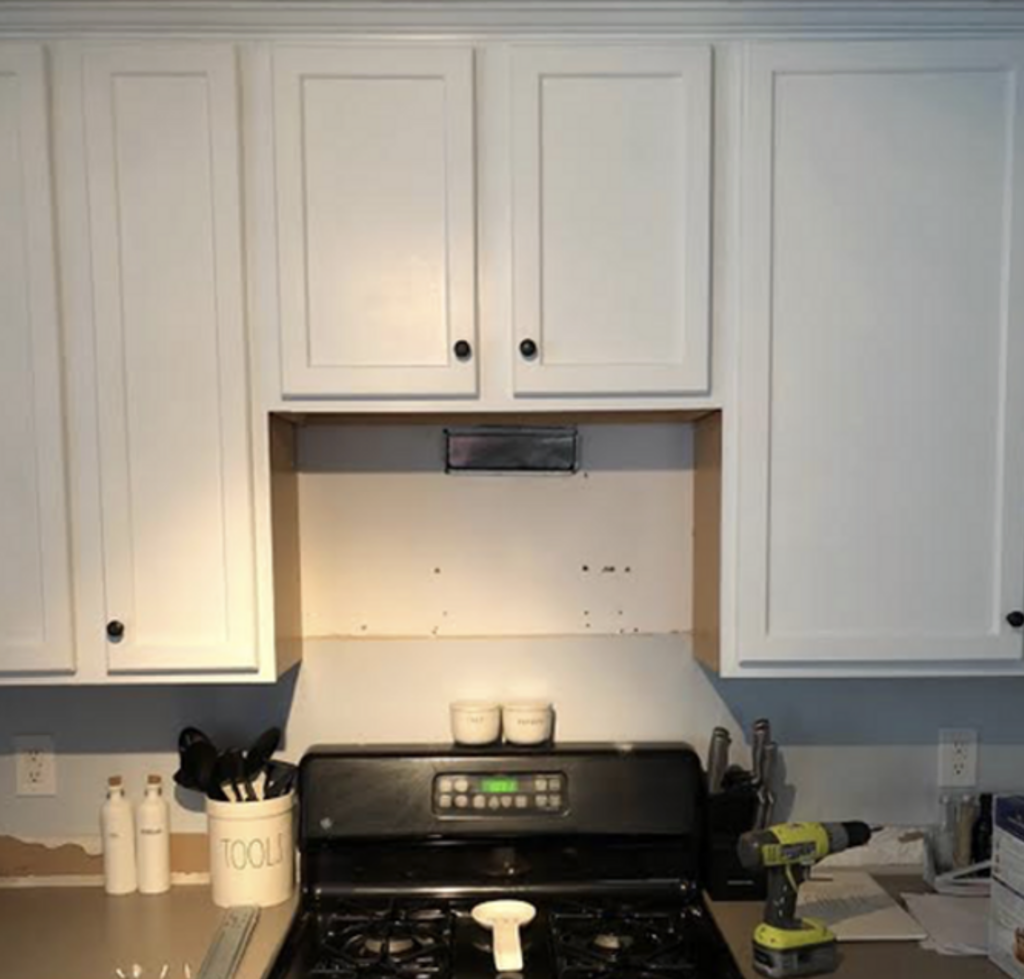
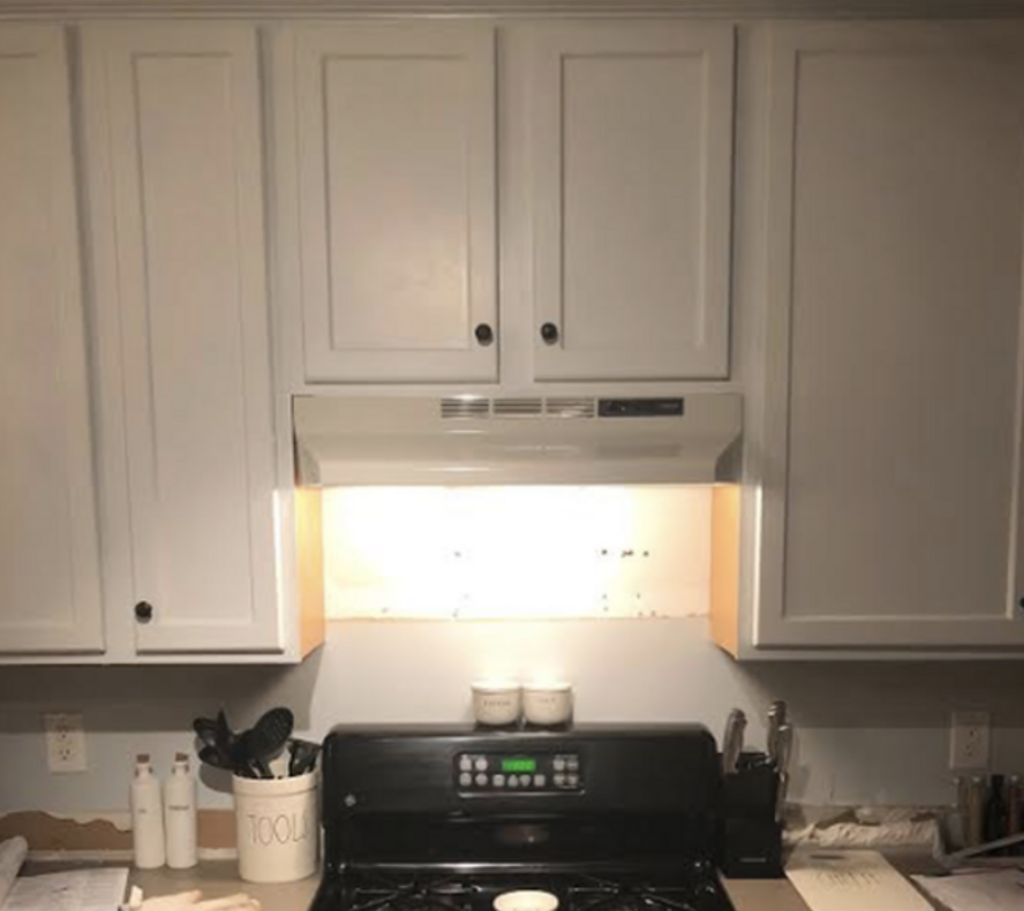
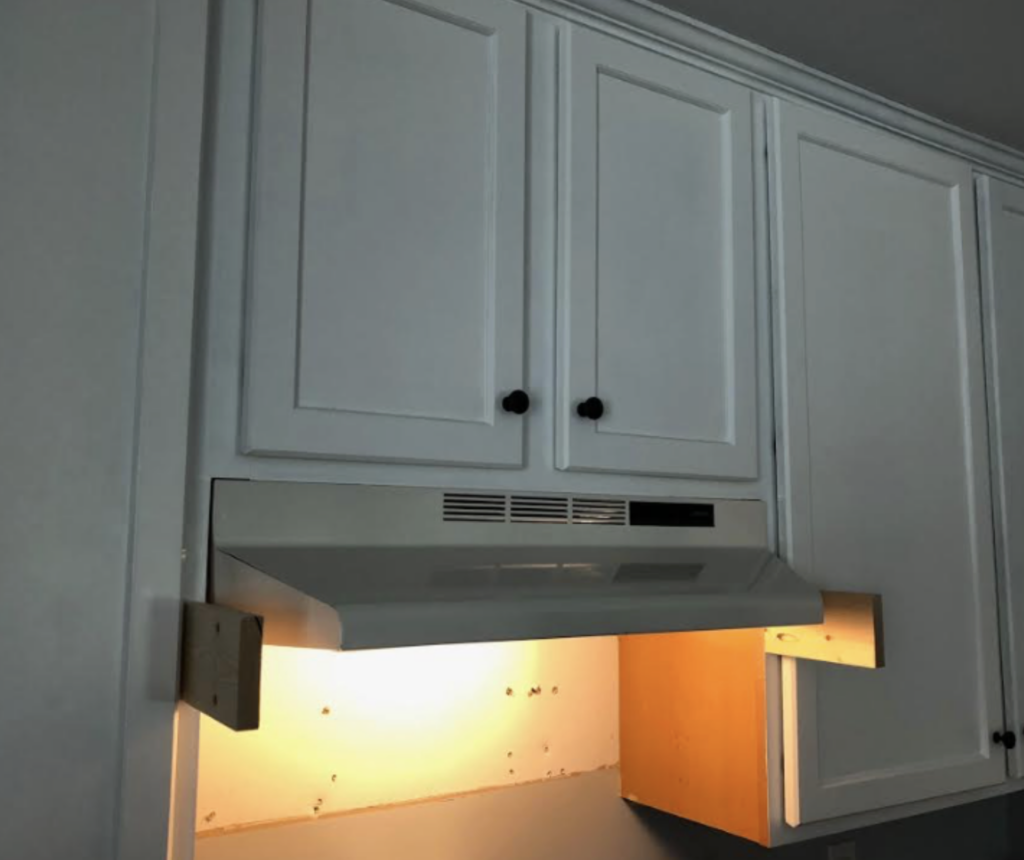
After you have the microwave out, you now have to add a vent hood because you still need a vent above your stove to suck up smoke/steam, have light, etc. while cooking. You can get a similar vent hood here. I didn’t care what it looked like as long as it was recirculating and not too expensive. It goes in the same way the microwave came out. There are easy step by step instructions that come with it as well. Just bolt it to the underside of the cabinets above and plug into the outlet, test to make sure the light and vent are working, and you are good to go onto the next step!
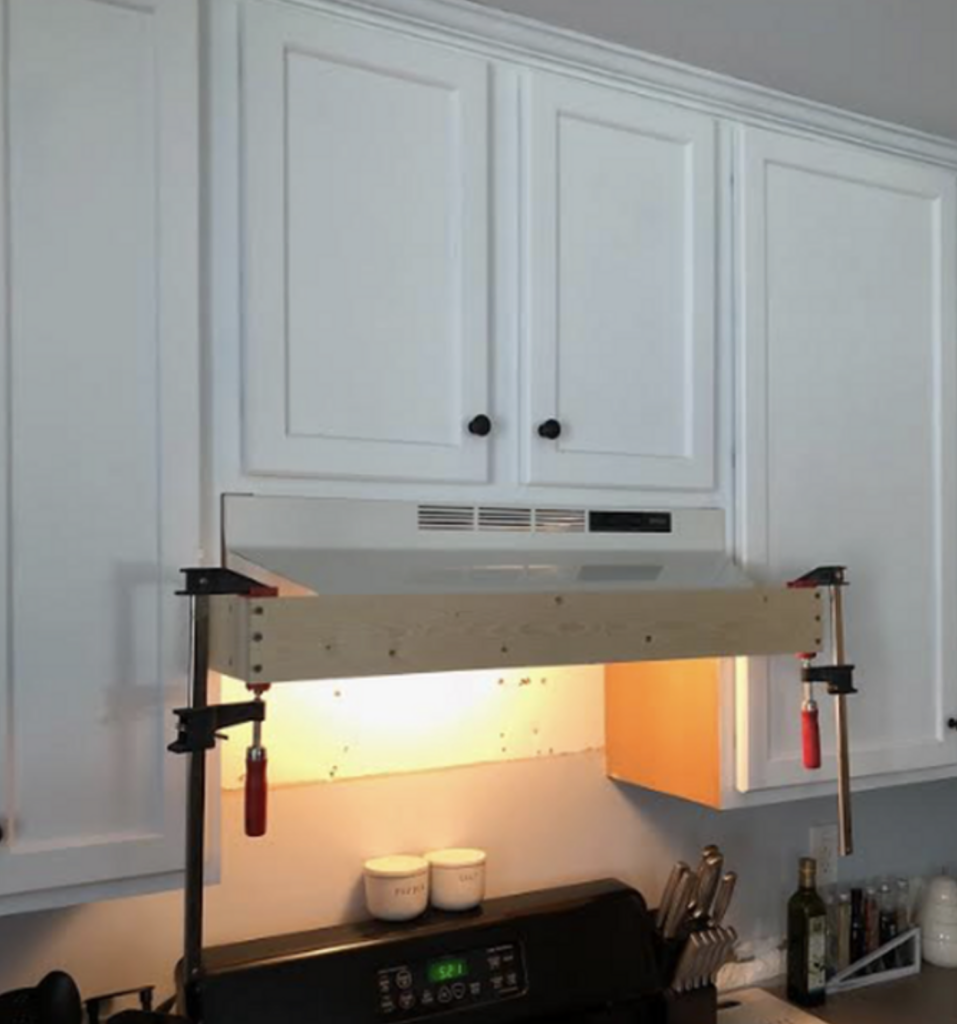
Now that the vent hood is installed, does the fun part! I wanted the range hood cover to cover everything but still be functional. I first added two pieces of 1×4 pine to the sides of the cabinets using my Kreg jig to drill pocket holes and 2″ pocket hole screws to attach. Make sure you extend them at least 1/2″ past the front of the vent hood and make sure both pieces are level with each other.

Next is adding the front piece. Measure the width from outer most sides of each of the pieces you just installed and cut another 1×4 to size. I attached this piece with wood glue and wood screws (you can also use brad nails if you don’t want to see the screws- I wanted this to match the barn door which had exposed screws).
Next, you will need to remove the top moulding (if your cabinets go all the way to the ceiling like mine-if your cabinets do not go all the way to the ceiling, you will need to essentially make a box at the top above for the next step I am about to show). I used my Ryobi multi tool to cut the moulding, save this piece as we will be reattaching it later!
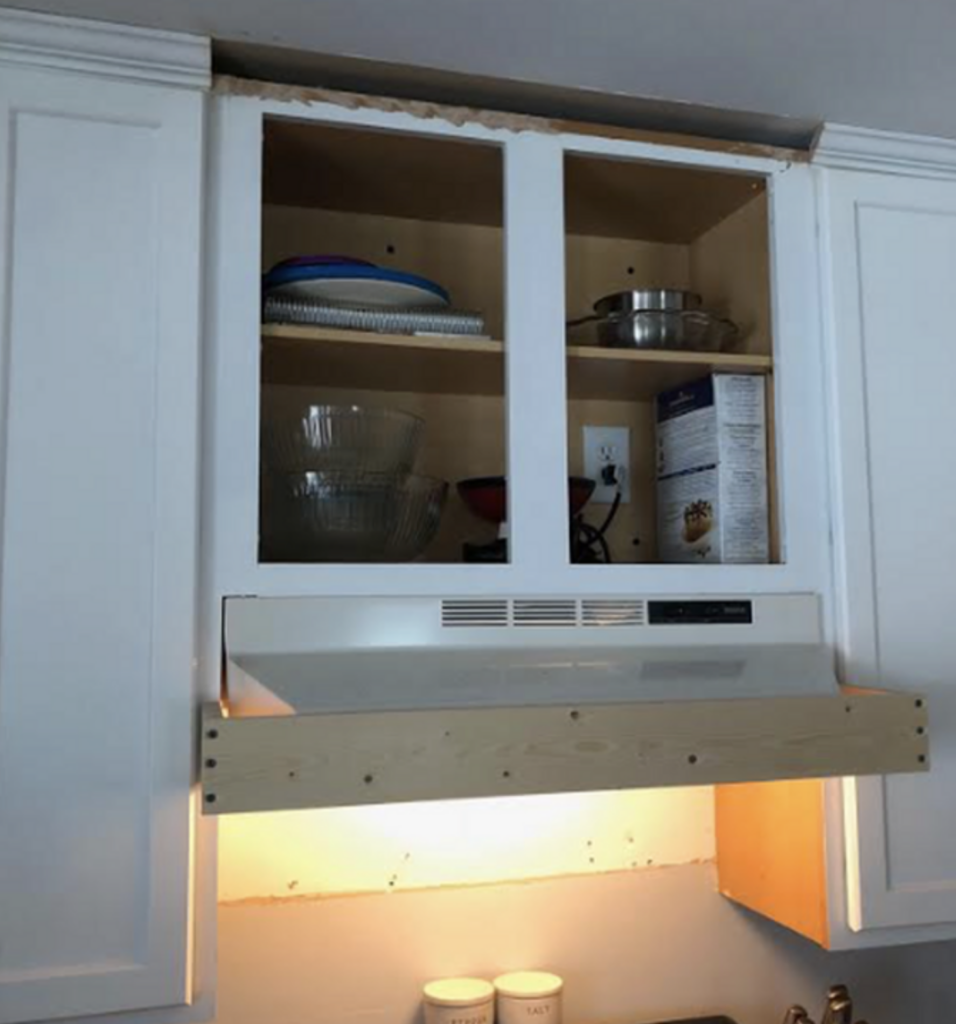
Measure from the left moulding to the right. Cut out a piece of 1×4 to size and attach with wood glue and screws.
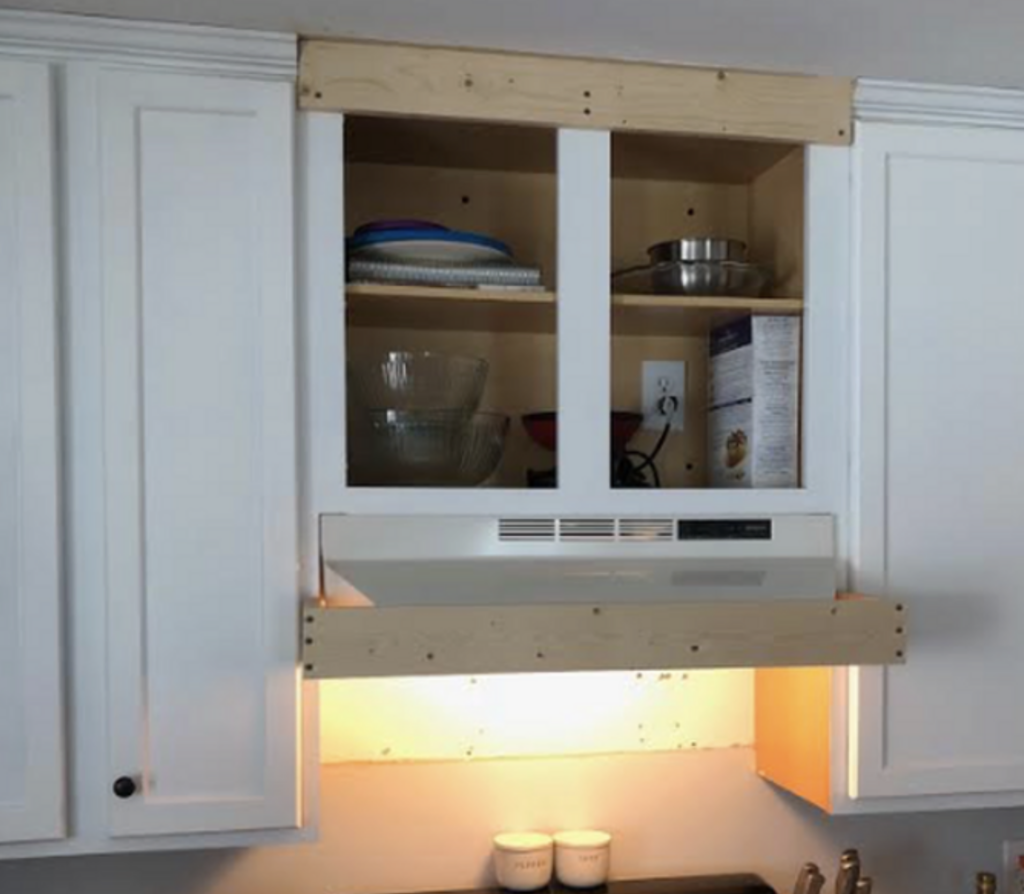
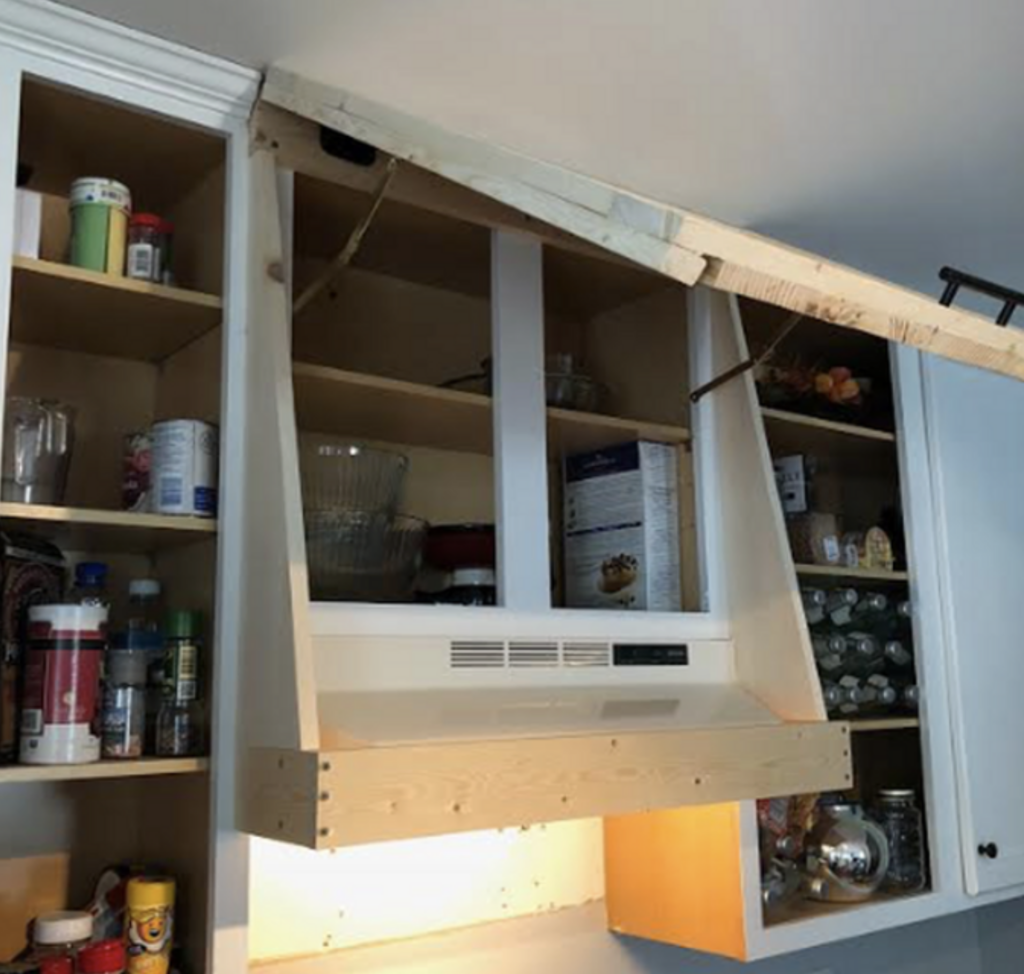
NOW for the fun part!! I assembled the door face using 1×6’s cut to size. I measured from 1/2″ from the ceiling to the top of the 1×4 at the bottom to get my height, then use the same width as the piece we attached at the ceiling. I used 1×4’s to create a square frame around the 1×6’s, using wood glue and brad nails to hold everything together. I added basic hinges to the underside of the top of the face to allow the cover to be opened and have access to the cabinet space behind (no lost space!!!).
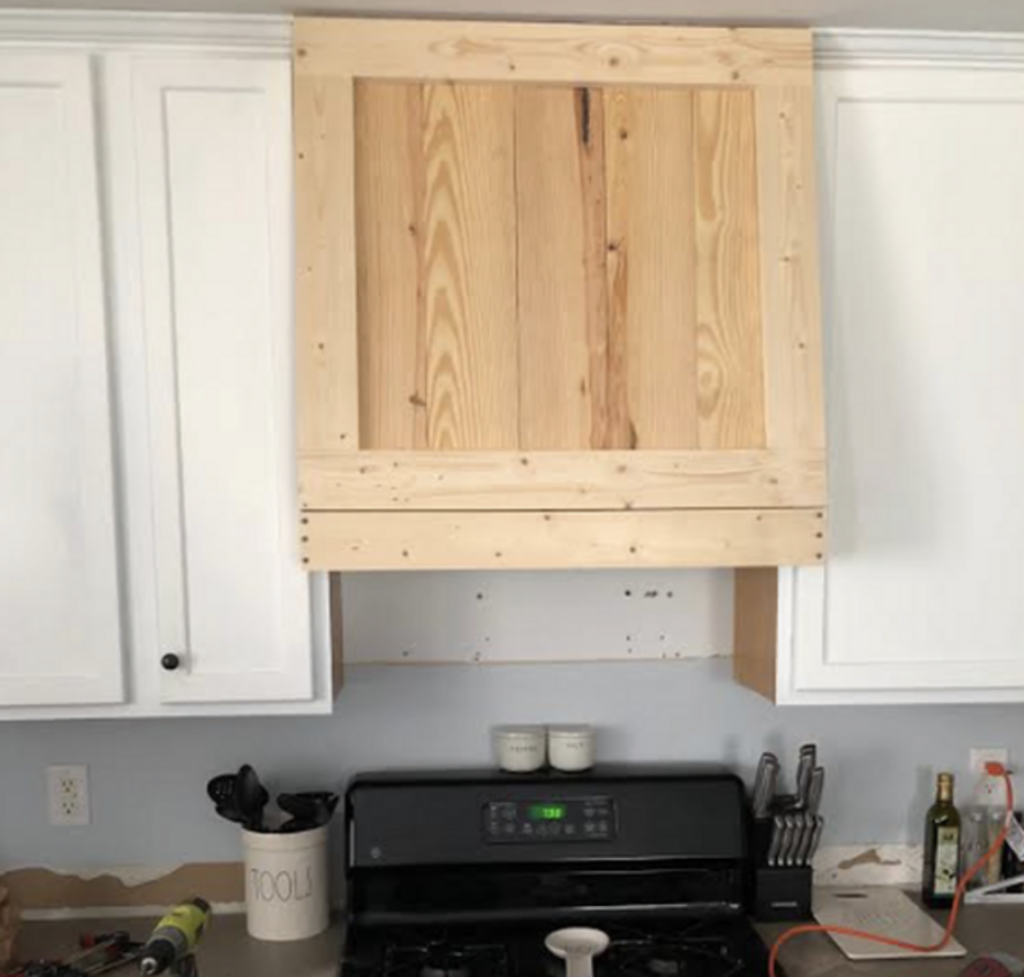
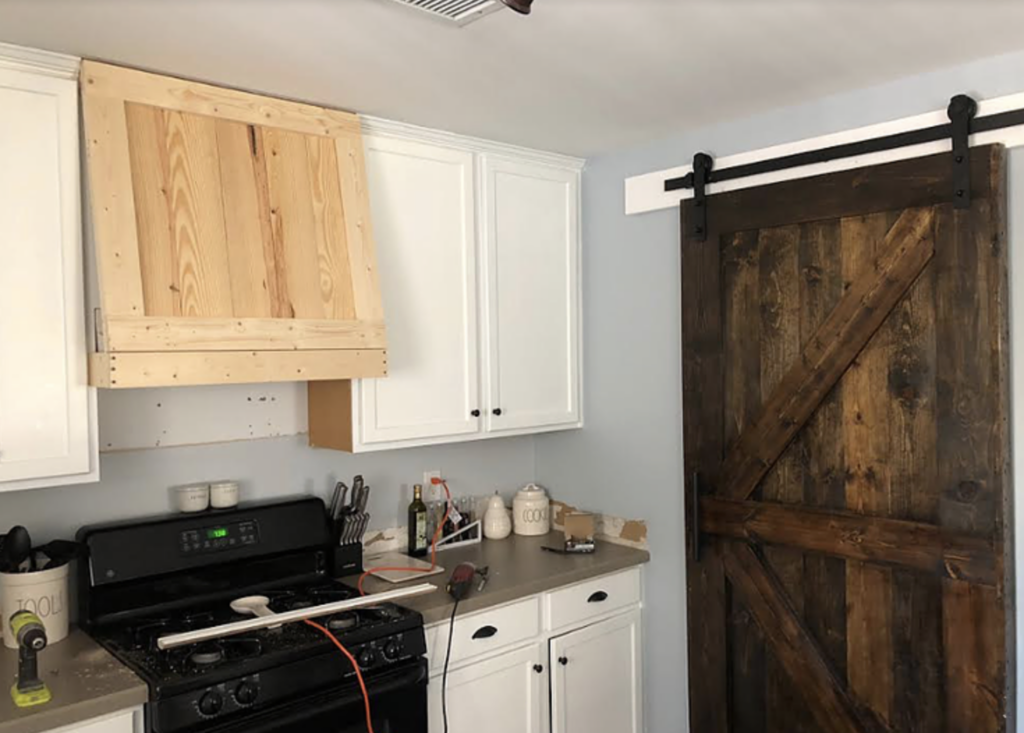
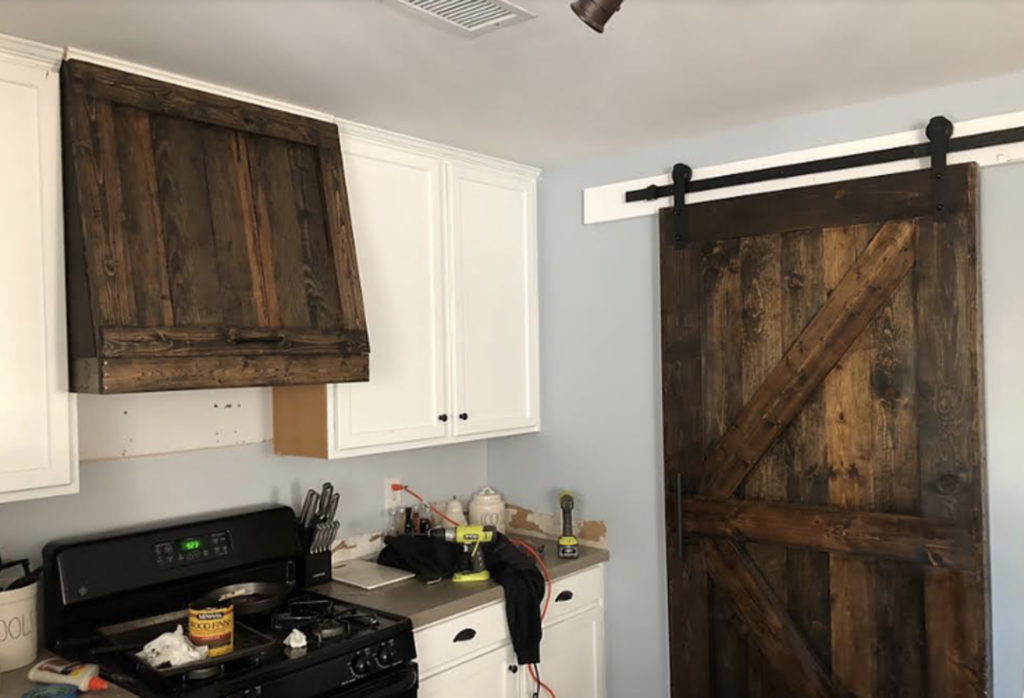
Here is how it looks so far next to my barn door I built (this was my first ever barn door!). I stained the hood cover the same color to match the door, which was Jacobean by Minwax.
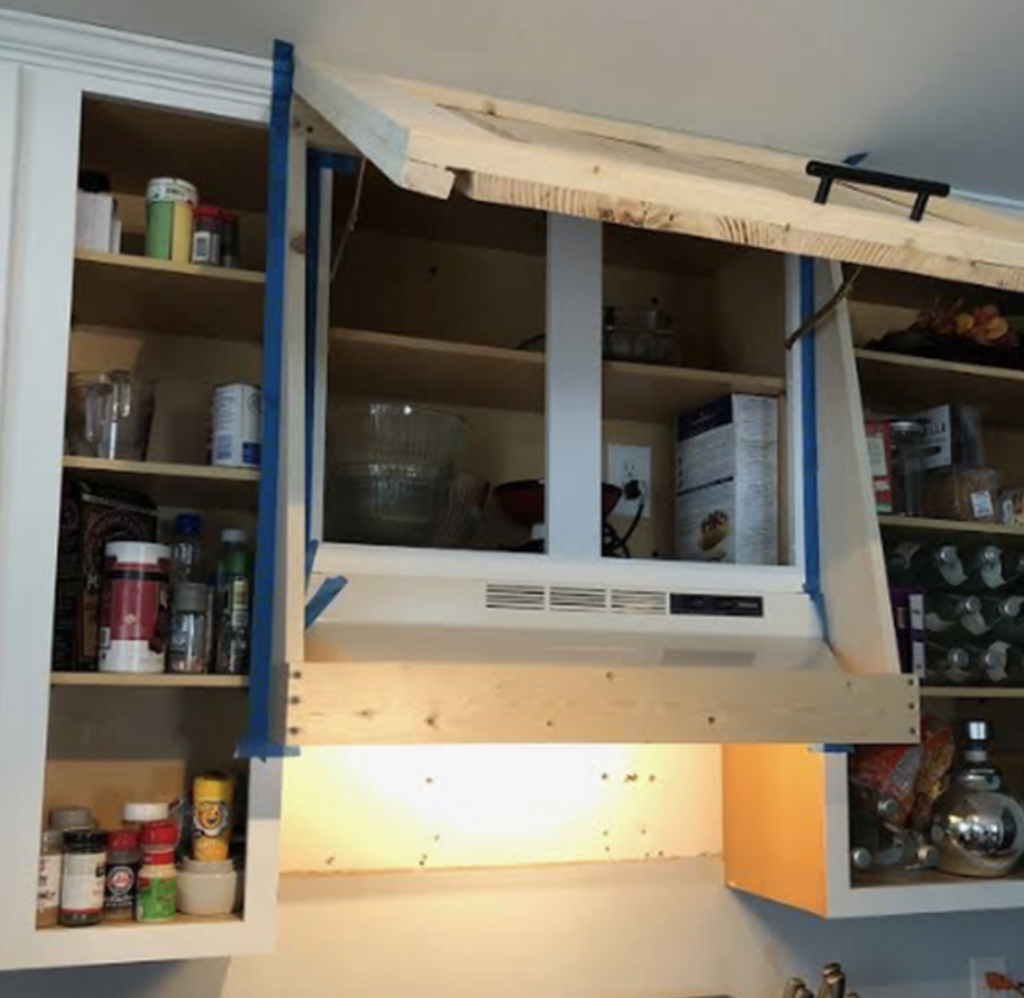
I purchased struts from Home Depot to hold the door open (but these kept getting jammed, so I replaced them with these struts instead). Just in case you need to use both hands to grab something from the storage behind-plus they door is kind of heavy using solid wood! (Yes I know that one little small piece was messed up, I fixed it after I took these photos!). I also cut to size the triangles for either side to fully enclose the cover when it is shut. This was the trickiest part for me, getting the triangles just perfect. I attached them using wood glue and brad nails.
Once I attached the handle and made sure everything was functioning properly, I taped it off with my 3M painters tape to prep for stain! I stained it Jacobean by Minwax to match the barn door.
Add the moulding piece back to the top of the cover and touchup any paint that needs touching up to finish off the look. (For instance, the sides of the moulding will stick out a little as you can see in this photo here before I painted it white to blend in and match.)
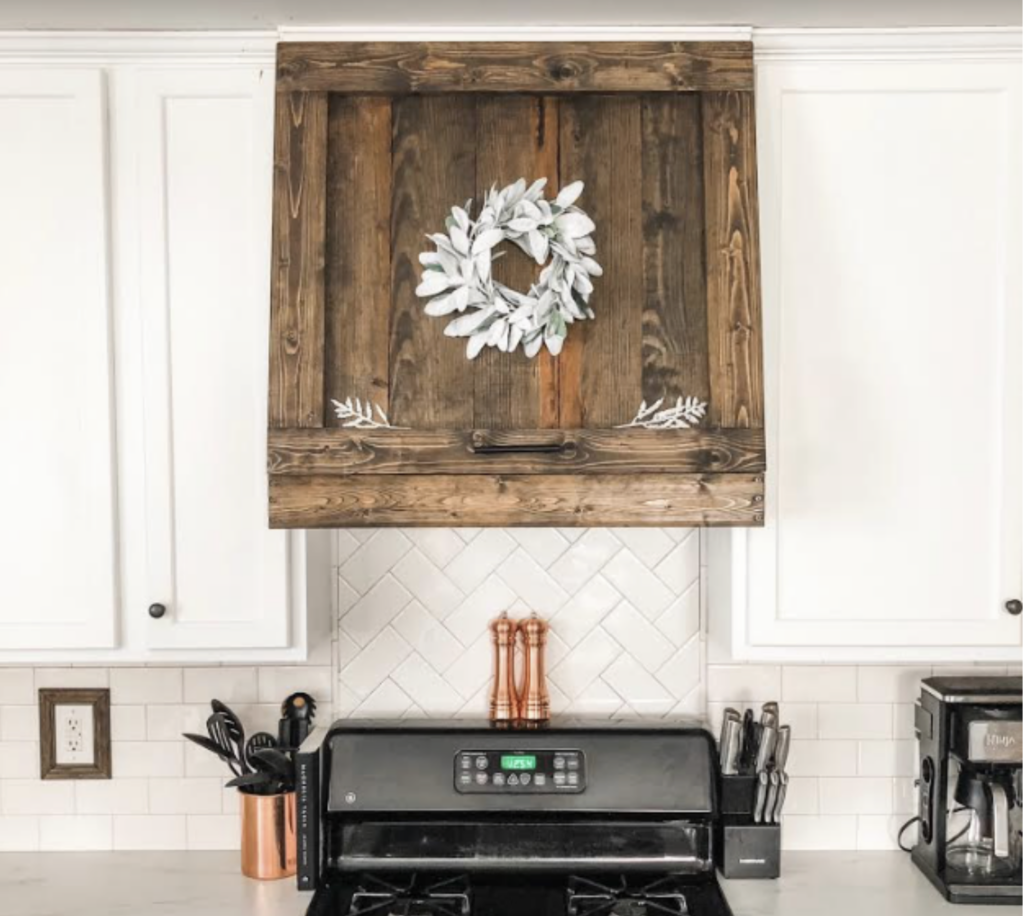
And voila! You now have a completely custom range hood cover with full functionality! After this photo, I added subway tile backsplash with a herringbone design above the stove and replaced our grey formica countertops with IKEA faux marble countertops which really set off the fresh and clean look!
And here is a look at the kitchen once it was all finished from top to bottom! Absolutely love how it turned out!! Especially the island cloud, have you ever seen that before?!

Tell me what you think in the comments! And as always, thank you for reading!
*We use affiliate links to support our blog and help our readers find exactly what they are looking for. By using our independently chosen links, we do earn a commission. Thank you!*


I need to to thank you for this great read!! I certainly loved every bit of it. I have got you book-marked to look at new things you postÖ
You ought to take part in a contest for one of the best websites on the net. I am going to highly recommend this website!
Itís hard to come by educated people for this subject, but you seem like you know what youíre talking about! Thanks
Thanks for your blog, nice to read. Do not stop.
I was extremely pleased to discover this site. I wanted to thank you for ones time for this particularly wonderful read!! I definitely loved every little bit of it and I have you bookmarked to see new stuff on your blog.
I want to to thank you for this very good read!! I certainly enjoyed every little bit of it. I have got you book-marked to check out new stuff you postÖ
Good post. I learn something totally new and challenging on blogs I stumbleupon on a daily basis. Its always useful to read content from other authors and practice something from their websites.
Excellent article. I certainly love this website. Keep writing!
Hi there, I found your site via Google while searching for a related topic, your website came up, it looks great. I have bookmarked it in my google bookmarks.
I want to to thank you for this good read!! I definitely enjoyed every little bit of it. I have got you bookmarked to look at new things you post…
I haven’t checked in here for a while because I thought it was getting boring, but the last few posts are great quality so I guess I’ll add you back to my daily bloglist. You deserve it my friend 🙂
Fantastic blog.Much thanks again. Want more.
Pretty! This has been an extremely wonderful article. Thank you for supplying this information.
I value the article.Thanks Again. Awesome.
Really enjoyed this blog. Cool.
Really informative blog post.Really thank you! Keep writing.
Thanks for sharing, this is a fantastic blog article. Cool.
Awesome article. Really Great.