Top 10 Tools For Beginners
*We use affiliate links to support our blog and help our readers find exactly what they are looking for. By using our chosen links in this blog, we do earn a commission. Thank you!*
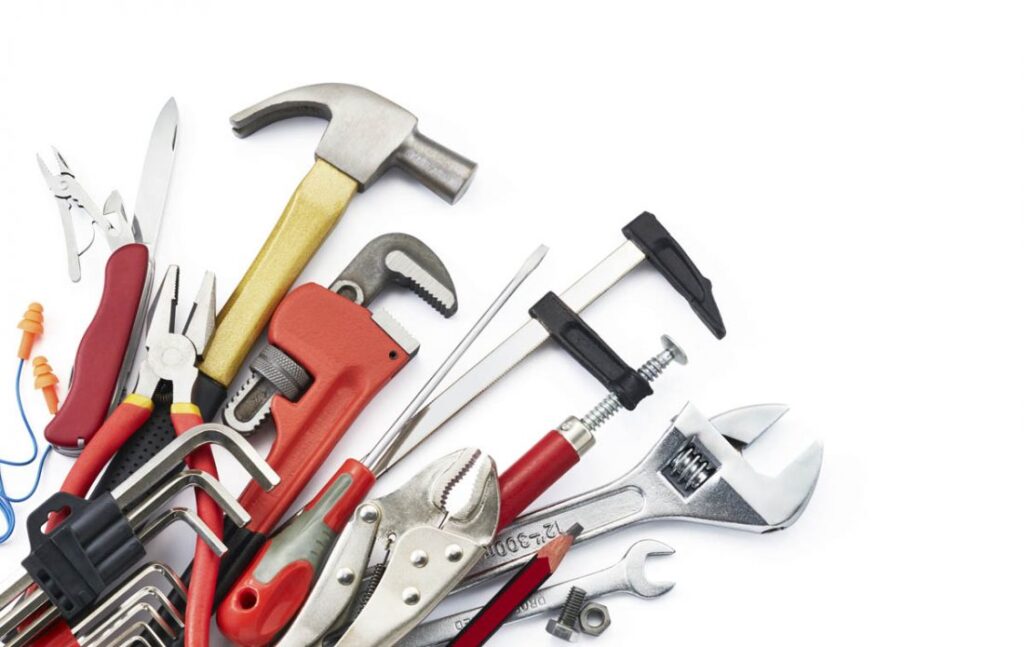
One of the most common questions I get asked on my Instagram, is “what main tools should beginners get?”. It is easy to look at an established woodworker and see projects they produce, but what tools do they use the most…and what tools are a waste of money? I am going to go through the ten tools that I use the most and recommend to any beginner or DIYer looking to step up their shop game. I will also go over ten tools to stay away from if you are newer that you may not use as much unless you’re serious about getting into woodworking as a serious side hustle or even full time job, like me.
Let’s start with the most obvious of all the tools…
1. Miter Saw
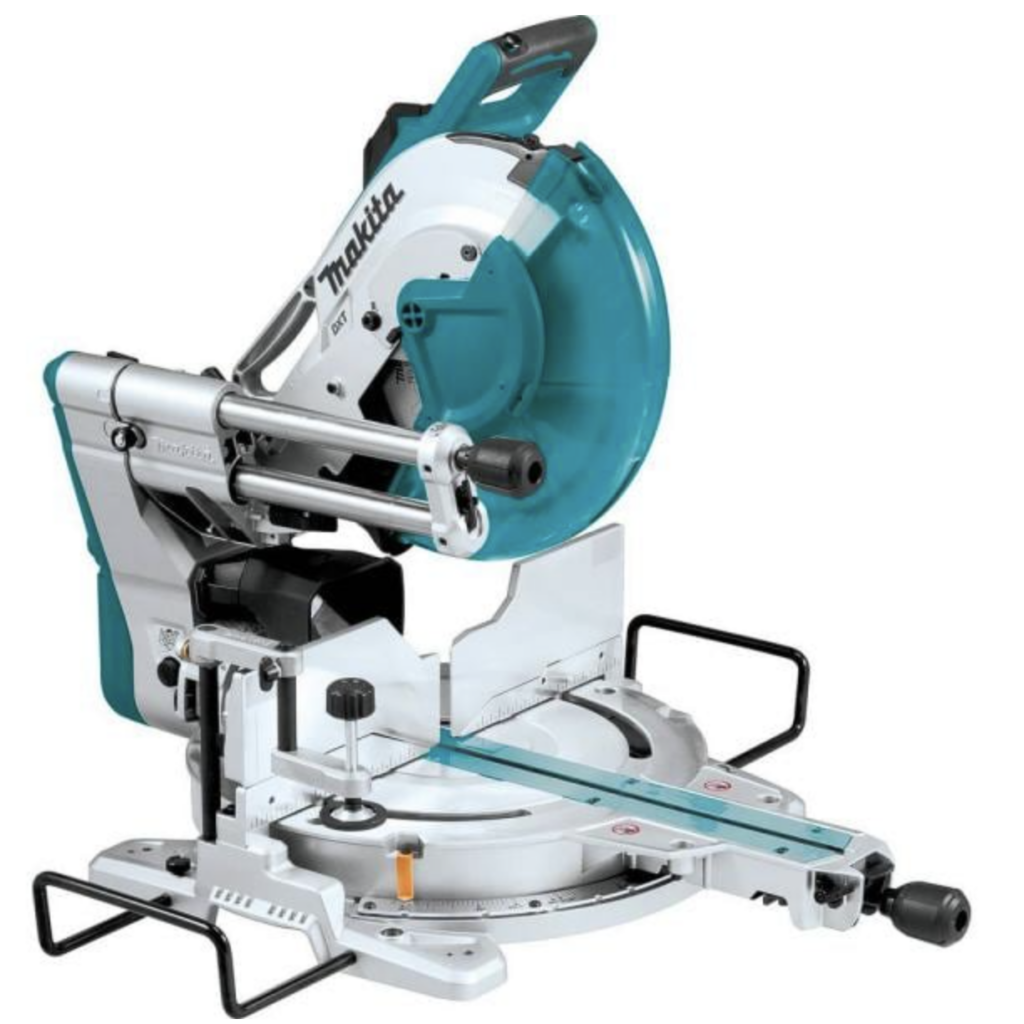
A miter saw is the number one tool I recommend to anyone looking to do any sort of projects or DIY. You will need to cut wood and this is the most versatile tool out there to do so (yes, there are several other tools you could use like a circular saw or jigsaw) but for the most accurate cuts, you will need a miter saw. I highly recommend getting a 12″ sliding miter saw. This will give you the most bang for your buck as you will be able to cut larger, more wide boards. I have the Makita which features front rails to save space in the shop. But DeWalt also makes a great 12″ saw as well.
2. Brad Nailer
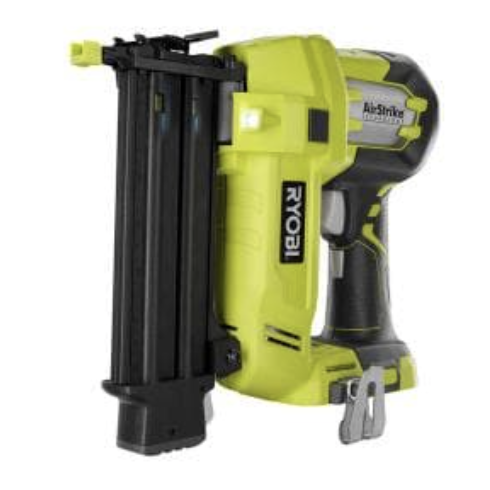
The second tool I suggest getting is a 18g brad nailer. I use mine almost every single day along with my miter saw. Brad nailers are great for joining boards together when you need to hold them together to wait for glue to dry. There are several projects I have done just using my miter saw, brad nailer, sander, and glue. Brand nailers come in several sizes- 23g pin nailer (small nails), 18g brad nailer (most commonly used/versatile), and 16g nailer (large nails for larger projects). I personally own the Ryobi nailers (I have all three sizes from them) as I like the ability to change out the battery to all their tools.
3. Sander
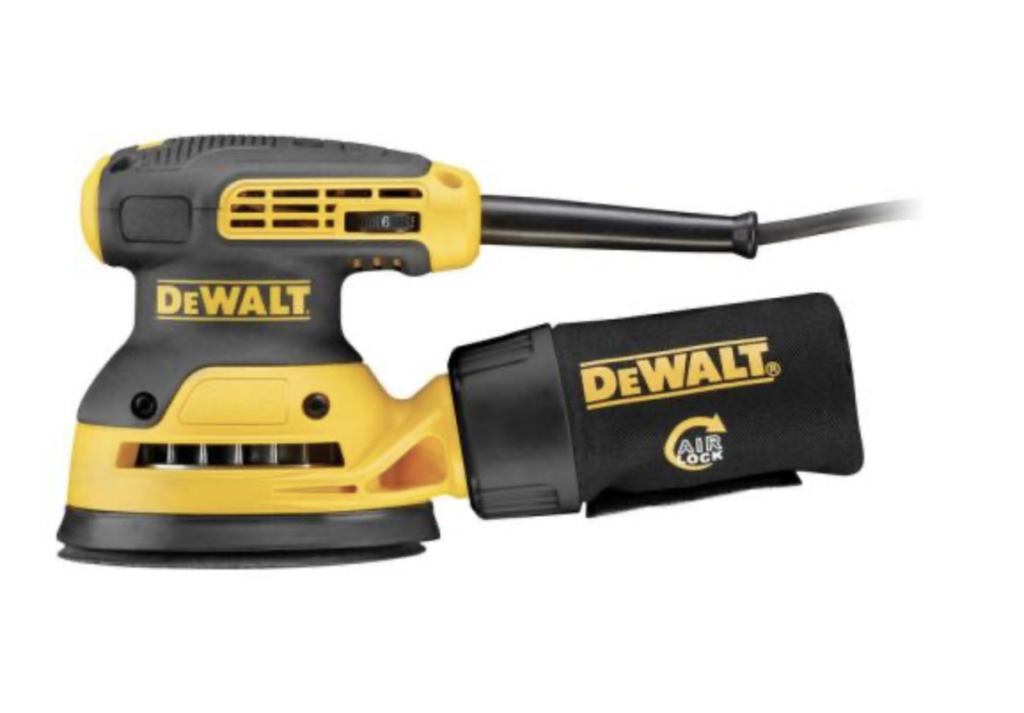
For every project you use wood on, you will more than likely need a sander to get your final project nice and smooth. You don’t want to spend a lot of time building a project just for it to come out rough to the touch. Starting out, I used the DeWalt 5″ orbital sander. This sander is great for beginners as it lasts a long time and the only thing you need to replace is the pad every so often, depending on how many projects you do. I have since upgraded to the Mirka 5″ orbital sander that attaches to dust collection, but I’d recommend starting off with the DeWalt. Stay away from palm sanders and other types- make sure to get the random orbital sander as this will give you the best finish and is easiest to work with to get your project smooth.
4. Drill
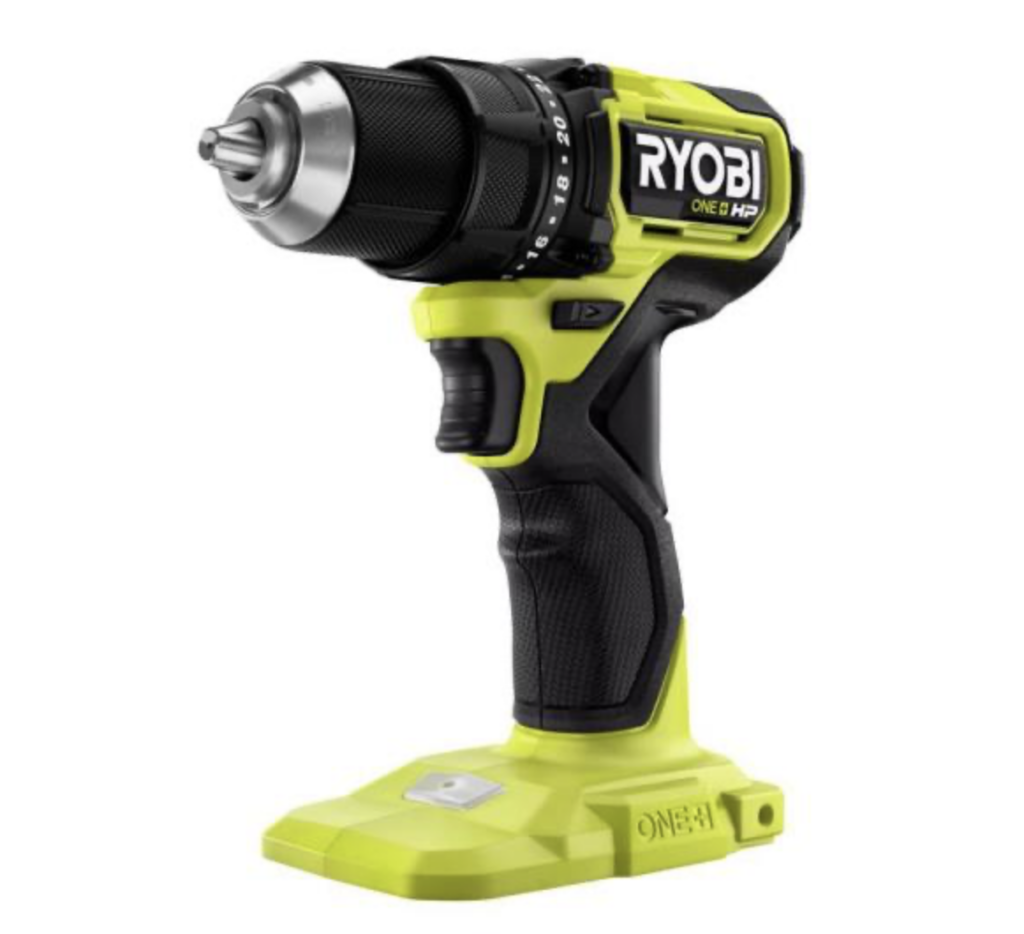
A drill is a pretty common tool most everyone has in their tool arsenal. I currently own 12 drills (but obviously you do not need that many!). If it’s within your budget, I would actually recommend getting not one, but two drills. This way you can keep your most used drill bit in one (mine is a 1/8″ bit), and then keep your most used driver bit in the other (mine is a Phillips head). This will make your projects go by SO much quicker as you won’t be changing out the bits several times throughout the project. Just like my brad nailer, I own all Ryobi drills since their batteries are universal. But there are lots of other quality brands such as DeWalt, Milwaukee, Ridgid, etc. out there if you are not a Ryobi fan.
5. Kreg Jig
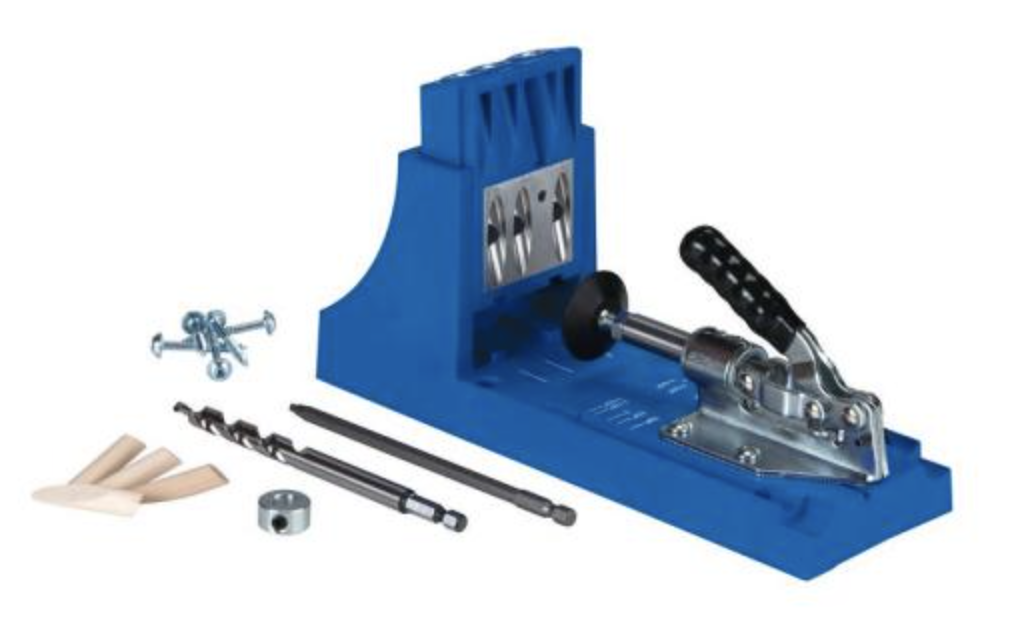
Next up would be a Kreg Jig. This jig allows you to drill pocket holes for pocket hole screws to join pieces of wood together. I use pocket holes especially for face frames for cabinets and cabinet bases. But you can use them for many other applications. I don’t recommend it, but you can use it for table tops, table bases, etc. (See my post on the 4 ways to attach boards for a table top here). The Kreg Jig is a great introduction into joinery, but make sure your wood is dry before joining! Which leads me to my next tool……
6. Moisture Meter
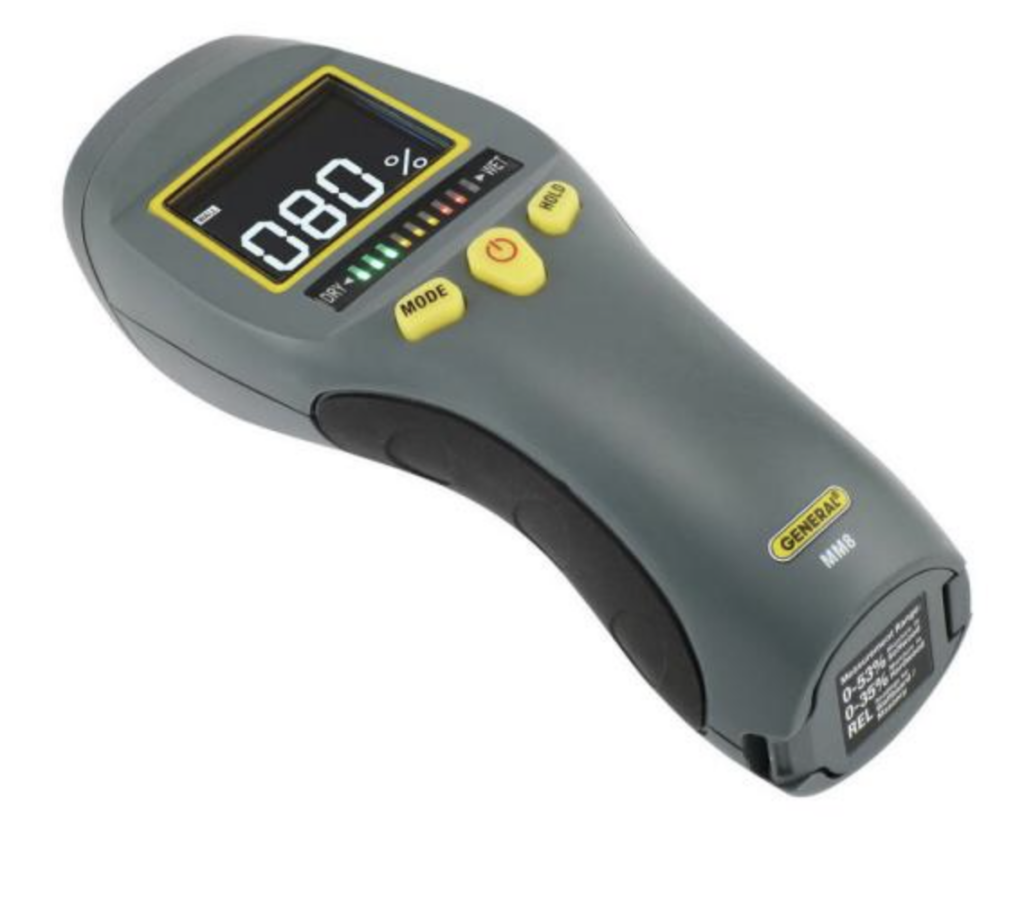
One of the biggest mistakes I made as a beginner years ago was not knowing about moisture in wood. If you work with wet wood, it WILL warp on you and leave you frustrated with a now ruined project. It could take days, weeks, or years but wet wood will dry out and warp over time. The key is getting a digital moisture meter and bringing it with you when you go to the lumber yard to pick out your wood for your project. Always sight your boards to make sure they are free of cups, bows, and twists and then use your moisture meter to check to make sure the moisture reading is between 7-11%. This is the ideal range for furniture building from MY experience. Other carpenters may say as low as 4% and as high as 15%. It also depends on your location if you live in a more dry area or humid area.
7. Biscuit Joiner
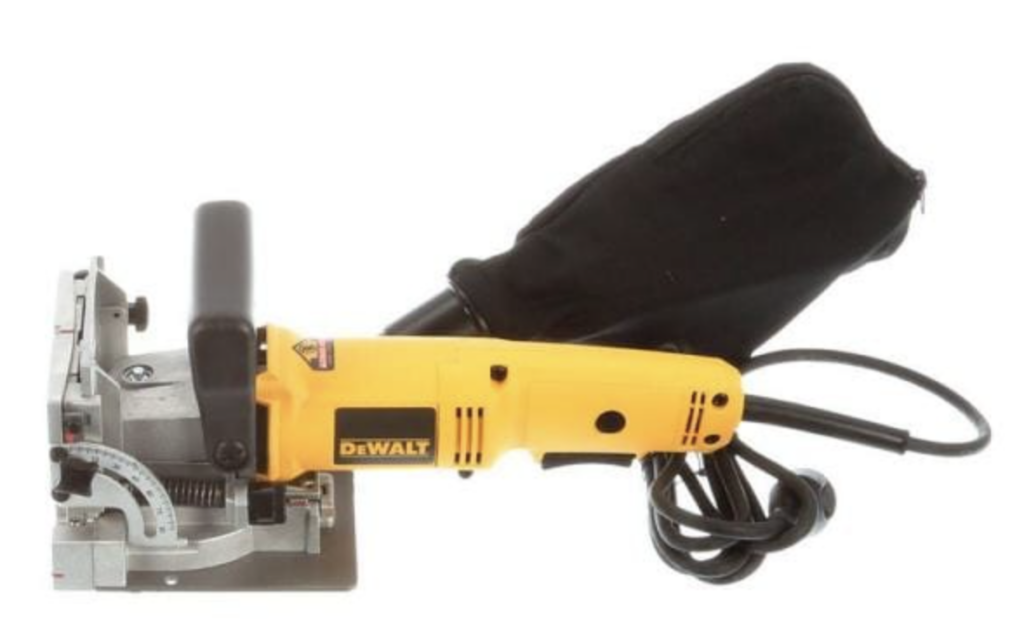
As mentioned above, I do NOT recommend joining your boards for table tops together with pocket hole screws. The reason for this is, wood expands and contracts with the changing of seasons (this is why they tell you to leave a small gap between wood floors and baseboards). If you screw the top boards together and they go to expand/contract they will not be able to properly move because of the screws, thus leading to cracking/warping over time *even if you got wood within the proper moisture levels*. For this, I recommend a biscuit joiner. This will allow you to properly join the top boards together where they can expand and contract freely without constriction of screws. You can also use this to cut the slots in your bases for z-clips (to attach your base to your top to allow for that wood movement).
8. Speed Square
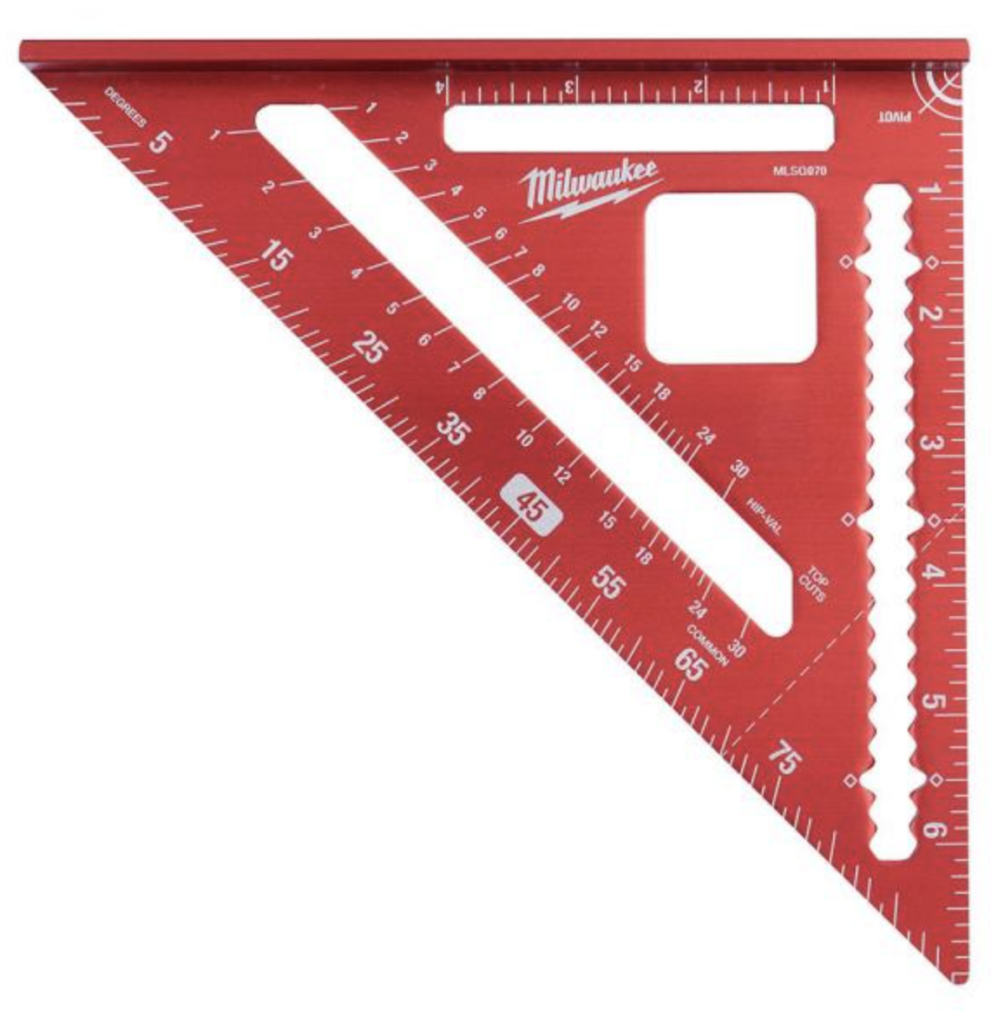
One thing I know for certain when building anything, is that you always want to be square! I heard it along time ago from my friend’s grandfather, “start square and square”. That has stuck with me throughout my entire woodworking journey. I now own several squares, but the one that I use the most is my speed square. A speed square is one that looks like a triangle, it has a lip on the bottom that you can easily run up and down a board to mark your measurement at 90°. Hence why it is called a speed square, because it allows you to make these marks in a speedy manner. I have Woodpecker’s brand squares, but you can find speed squares are in a big box store.
9. Jig Saw
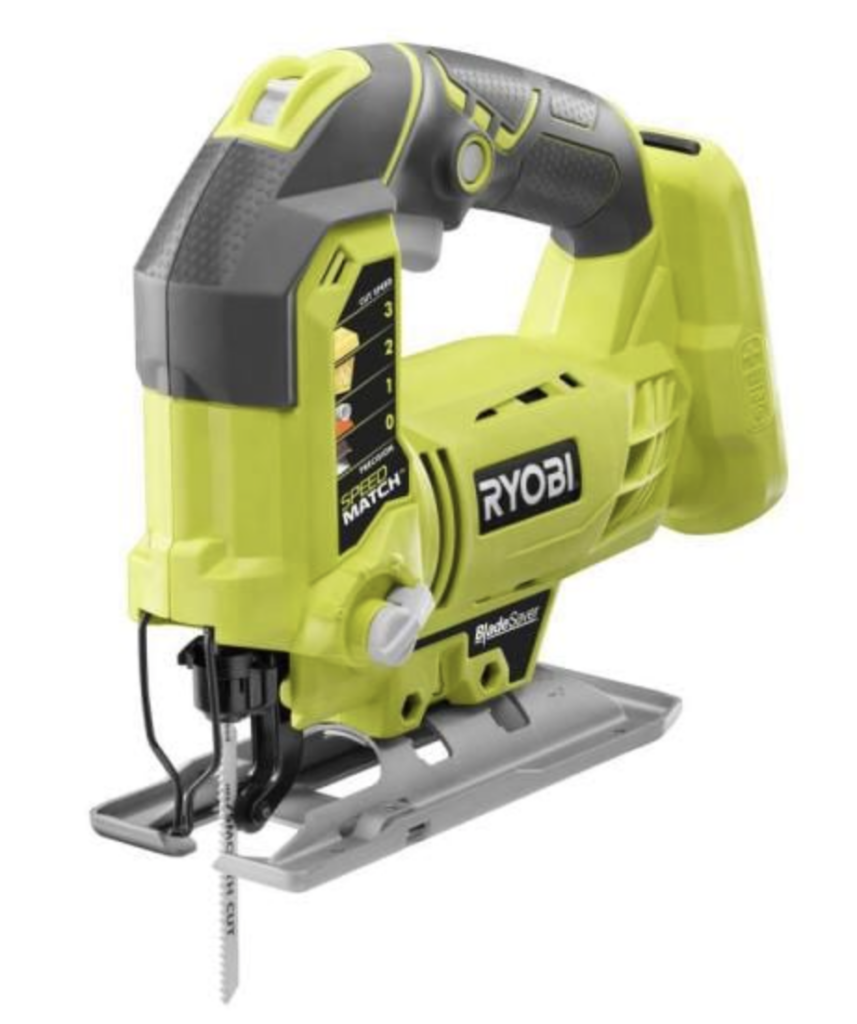
Number 9 on the list would have to be a jigsaw. Jigsaws allow you to make awkward cuts that randomly pop up within a project that your miter saw cannot do. For example, if you need to notch out a corner of a piece of wood for your windowsill, you would not be able to do that with your miter saw, so the jigsaw comes in handy to make that awkward cut instead. Plus you can make other cuts for smaller projects similar to scroll saw cuts, like if you want to cut out a letter or a curve, a jigsaw will allow you to do that. Again, I have Ryobi as my battery operated jigsaw since the batteries are universal, but for my corded jigsaw I have a Bosch as it has a little more power than the battery operated one.
10. Table Saw
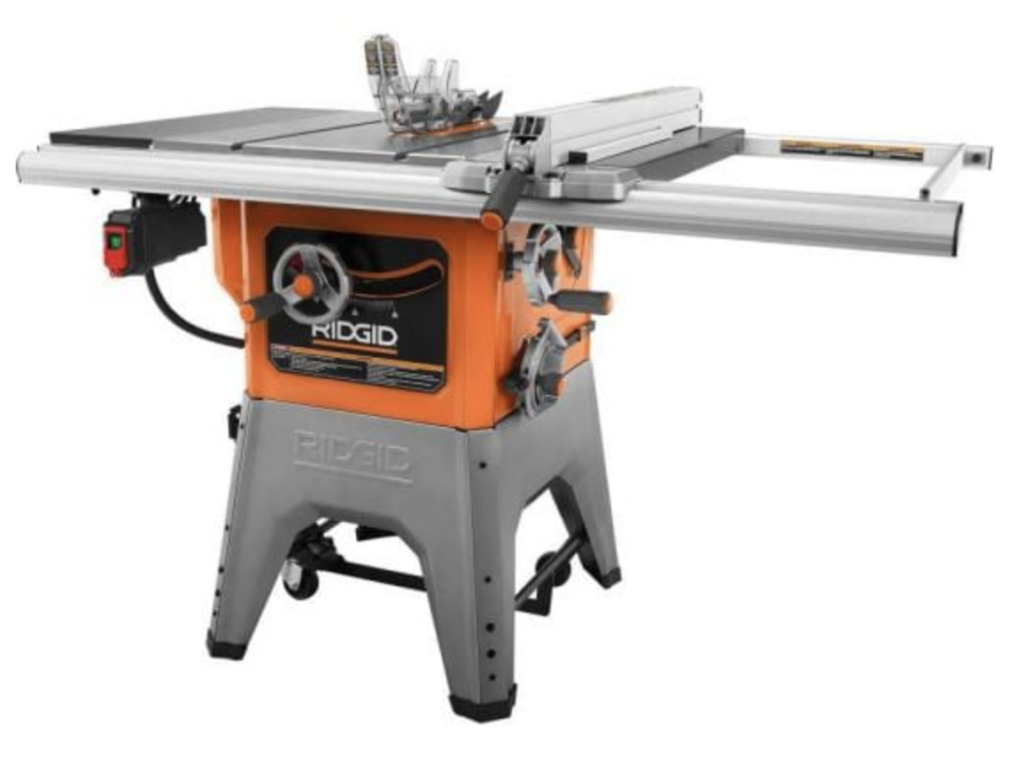
Last, but definitely not least, I would have to say a tablesaw. A tablesaw will allow you to rip boards and plywood into strips accurately. You can also build a jig for a tablesaw to act like a jointer so you can get perfectly straight rips on either side of boards to join together for table tops to make them seamless and you don’t have to spend the money on buying an actual jointer. You can also make a sled to be able to cut many different types of cuts, and you can also get dado blades for half lap joints and notching out for drawers etc. You can do so much with a tablesaw! *Out of all the tools above, the tablesaw is the most dangerous in my opinion, please always be aware of your surroundings when working with any tool!*
Now, tools that I recommend staying away from (for now) if you are a beginner….
1. Jointer
As mentioned above, you can use your tablesaw to essentially act as a jointer if you create a jig. So unless you start cranking out tables, I do not recommend getting a jointer right away. They are fairly expensive, they take up a good bit of space, and again, you can achieve similar results with the tablesaw and a jointer jig. While I absolutely love my jointer, I don’t recommend beginners getting on right away.
2. Planer
While a planer is another amazing tool to have, again, it is not a necessity for beginners. As long as you sight your boards at the lumberyard to make sure there is little to no cupping, you really don’t need a planer right away anyway. And more times than not, you probably know someone who has one that you could use in the event that you really needed to run a board through to get flat. They also take up a good bit of space, are on the more expensive side, and again, really not a necessity right out of the gate.
3. Festool Domino
As a beginner, you will probably be starry-eyed seeing any festool product. I know I was, and I still am! But the domino is essentially a biscuit joiner on steroids. No need in spending over $1000 on something you can get at a big box store that does almost the exact same thing. The only reason I currently own one is because of the amount of tables I produce. Dominoes are a lot thicker and bigger than biscuits, but both are merely used for alignment, not stability. Wood glue is what holds your boards together, I recommend titebond ultimate in the green label. A project will always break in the wood grain before it will break in a glued joint if properly assembled.
4. Bandsaw
I didn’t get a bandsaw until I was almost 2 years into my business. And to this day, I still hardly use it. I absolutely love my bandsaw, but it is one of the tools that I do not use that often which is why I would not recommend it to beginners starting out. Bandsaws are great for cutting curves and things like funky charcuterie boards etc. but you can add this to your list for later on down the road.
5. Large Dust Collection System
For beginners, the best dust collection would be to simply hook up a shop vac to your miter saw or tablesaw. There is no need for a large dust collection system right away unless you plan to be milling a lot of wood, as milling produces the most dust. A shop that can also be used for a number of different things to help clean up the shop. So do not waste your money on a large system right away.
*We use affiliate links to support our blog and help our readers find exactly what they’re looking for. By using our independently chosen links, we do earn a commission. Thank you!*

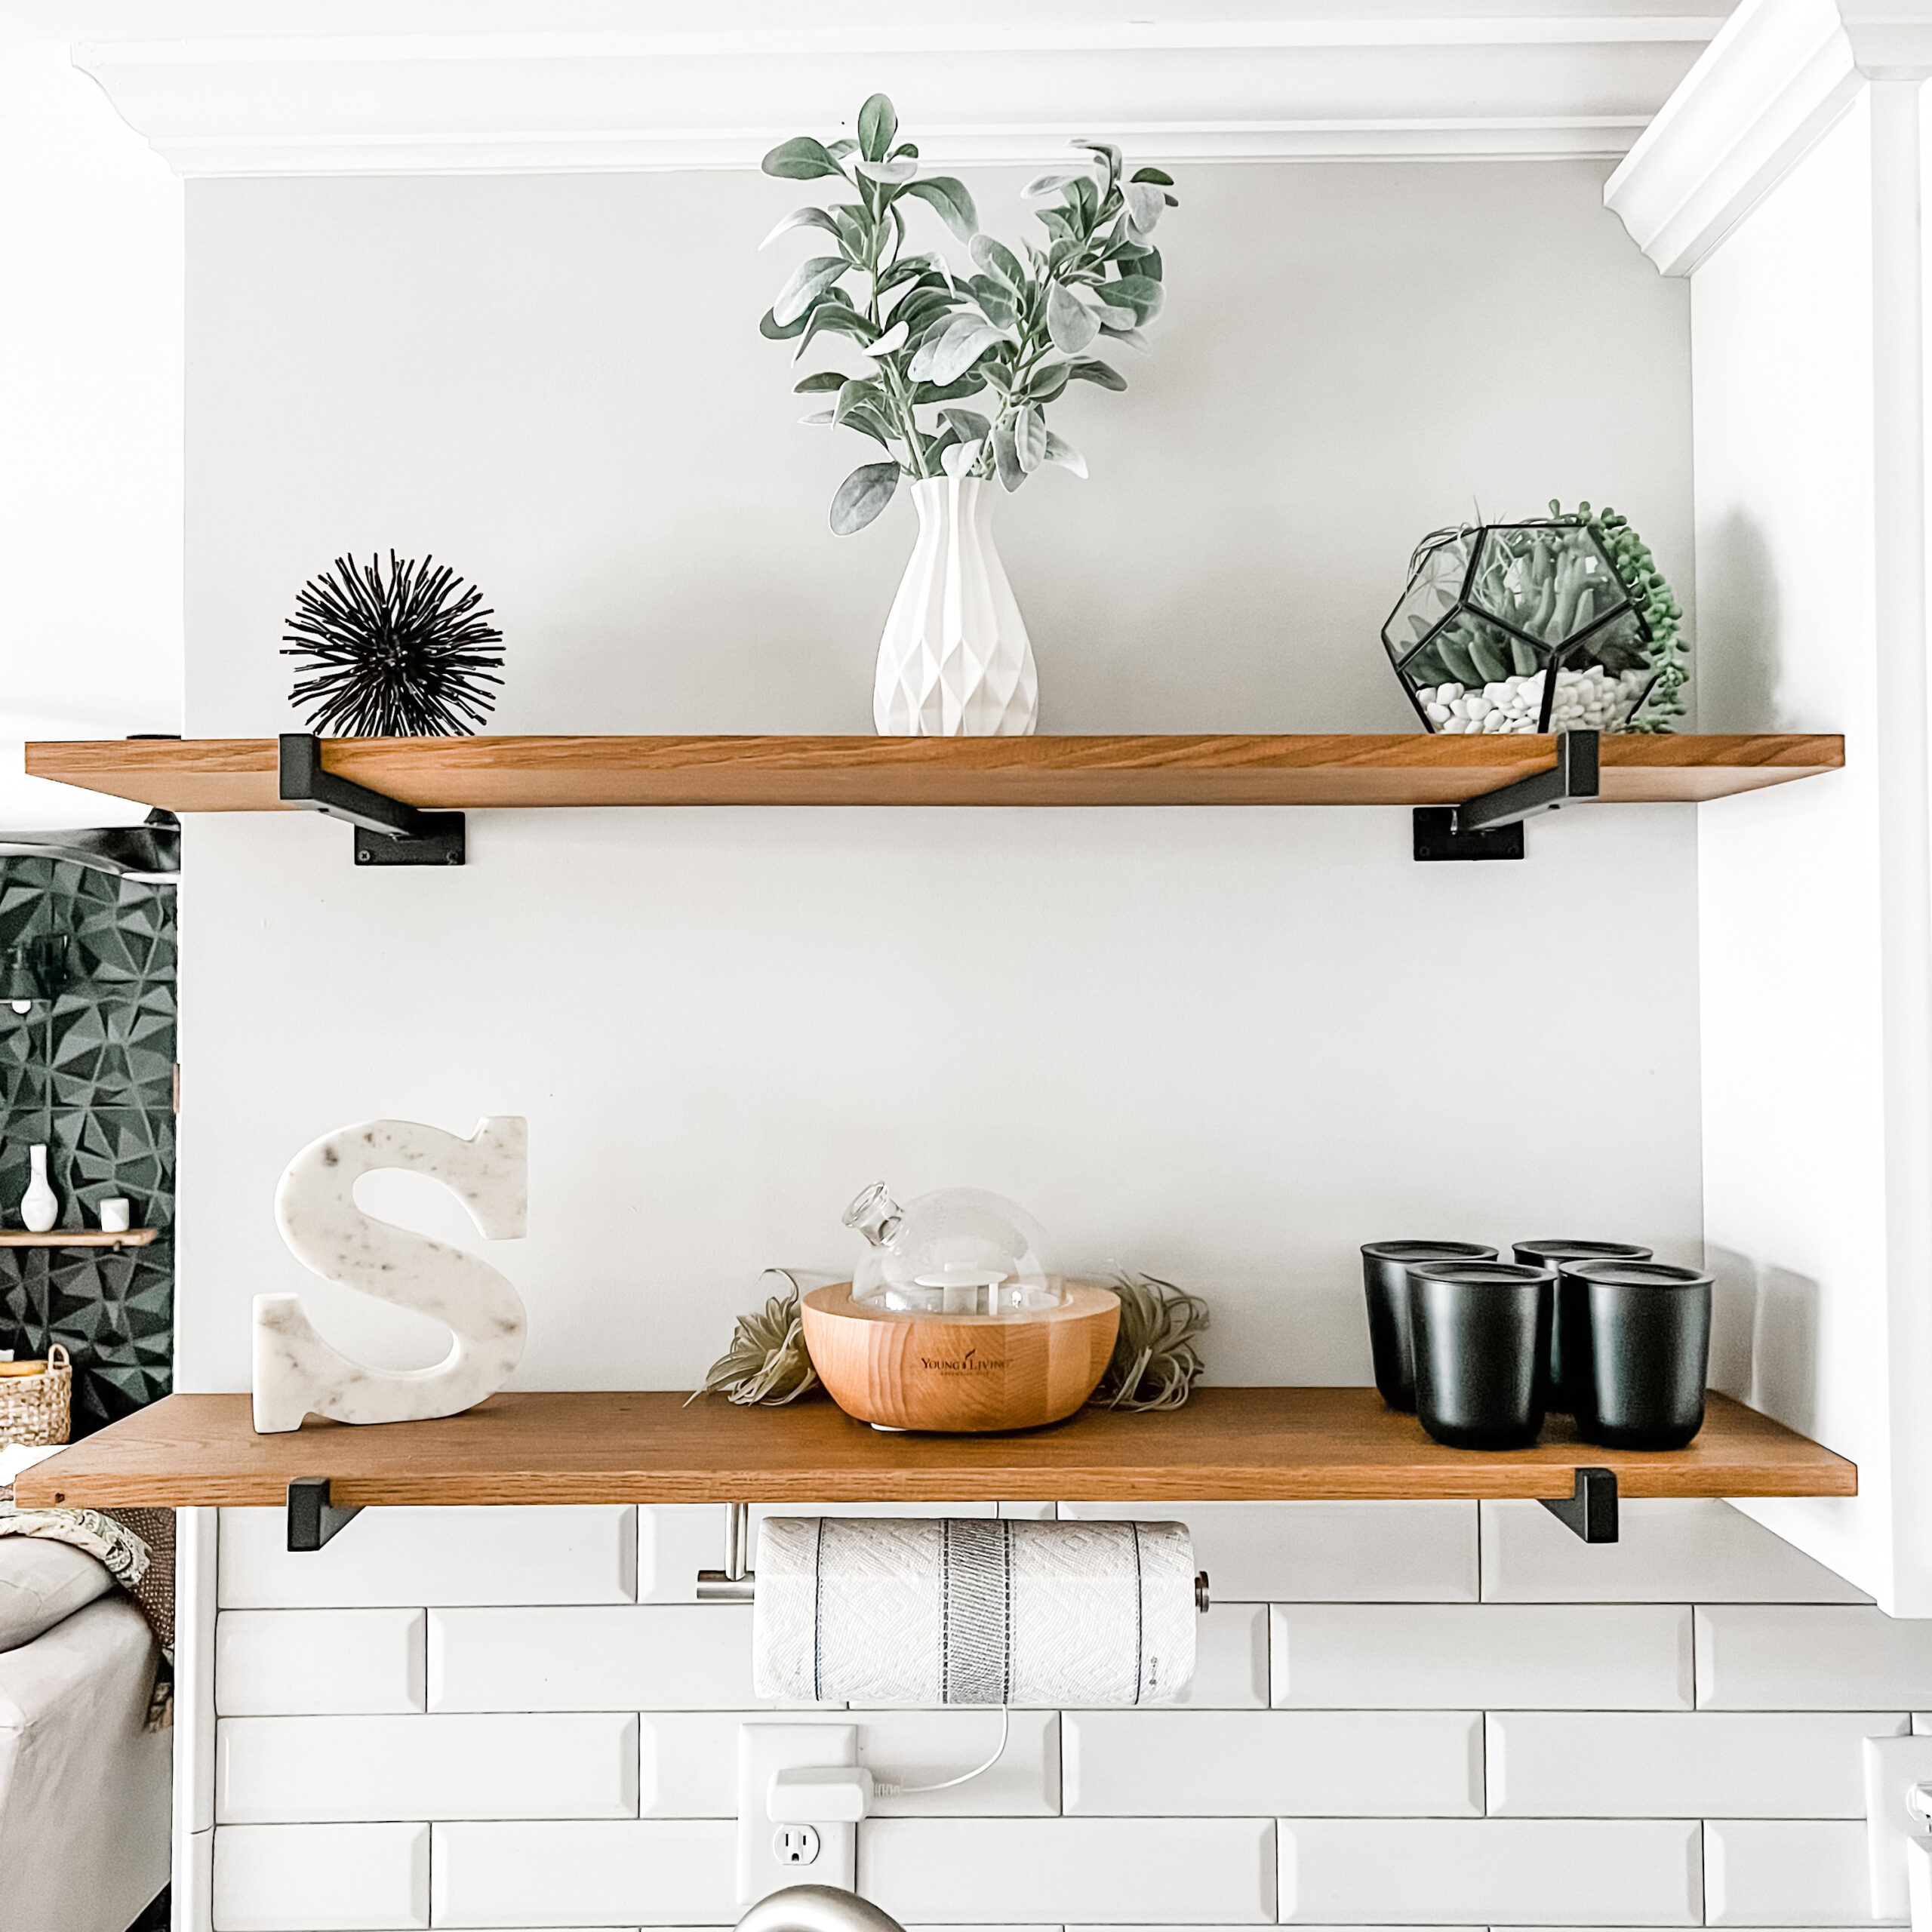


Thank you for reading my first blog post! I hope you enjoyed!
The order and selection of tools DEPENDS on what you are going to do! After being a home owner for 50 years and always improving something I have the following comments:
Bandsaw, even a table top, it will cut, rip, and do curves. I have a miter saw and never use it!
Squares, hammers, nails, screwdrivers and numerous more Get at garage sales
Moisture meter?? what for? you know most lumber is wet and will move
Nailer?? a hammer does the job
All sizes of clamps are a must
Dust collector?? Most small sanders have a dust pickup. Open the door, use a fan to blow it out
Just a few comments to save the reader a lot of money
Hi Rob! I appreciate your comment, however, I have to disagree with a few of your statements. First, most everyone I know uses their miter saws on the daily for nearly every single project. I use mine so much I have two. Yes a moisture meter is a MUST!!! Not all wood is wet when you buy it unless you are buying fresh cut wood off a mill. But wood from lumber stores and kiln dried wood from specialty lumber stores is usually always pretty dry, but always good to test that moisture! My nailer is my second most used tool in the shop, sure you could use a hammer and nails but that would make your project take 20x longer to complete and the nails would be much larger and more obvious than brad nails.
BUT, I do agree with you on getting your basics such as hammers, screwdrivers, squares, etc from garage sales as a beginner. I also agree about clamps, you can never have too many clamps! And I didn’t recommend to beginners to get a dust collector, that was on my list of what not to buy right away as I agree on using a simple shop vac or fan.
In regards to saving money, I believe in buying quality items first so you’re not wasting your money buying replacements later down the road. I have gotten quality tools from yard sales so when I say that I don’t mean buy everything brand new. However, I don’t recommend buying brands such as Harbor Freight for example.
Again, thank you for your comment! But these are the tools that I recommend as they are they ones I use the most. Everyone is different and will require different things. This is just a basic guide for my readers who have asked me personally to discuss the tools I deem most useful for beginners 🙂
Christina,
Thank you so much for this list. It makes total sense. I have some of the tools but not all and this is something that helps all of us beginners. Your time and wisdom is very appreciated.
Doug
Thanks for reading Doug! And as always, feel free to reach out to me either email or my Instagram if you have any specific questions! I am always glad to help!
Great suggestions and I have most of these tools but the kreg jig, so I feel like that is one I see a lot of DIYers use and think I need that one – for sure!!!
Hi there, I want to subscribe for this blog to take most recent updates, so where can i do it please help.
Hi Christina,
I can’t seem to find your email to look into ordering a table?
Hello! Please email me at [email protected] with your inquiry and I will gladly answer any questions you may have there!