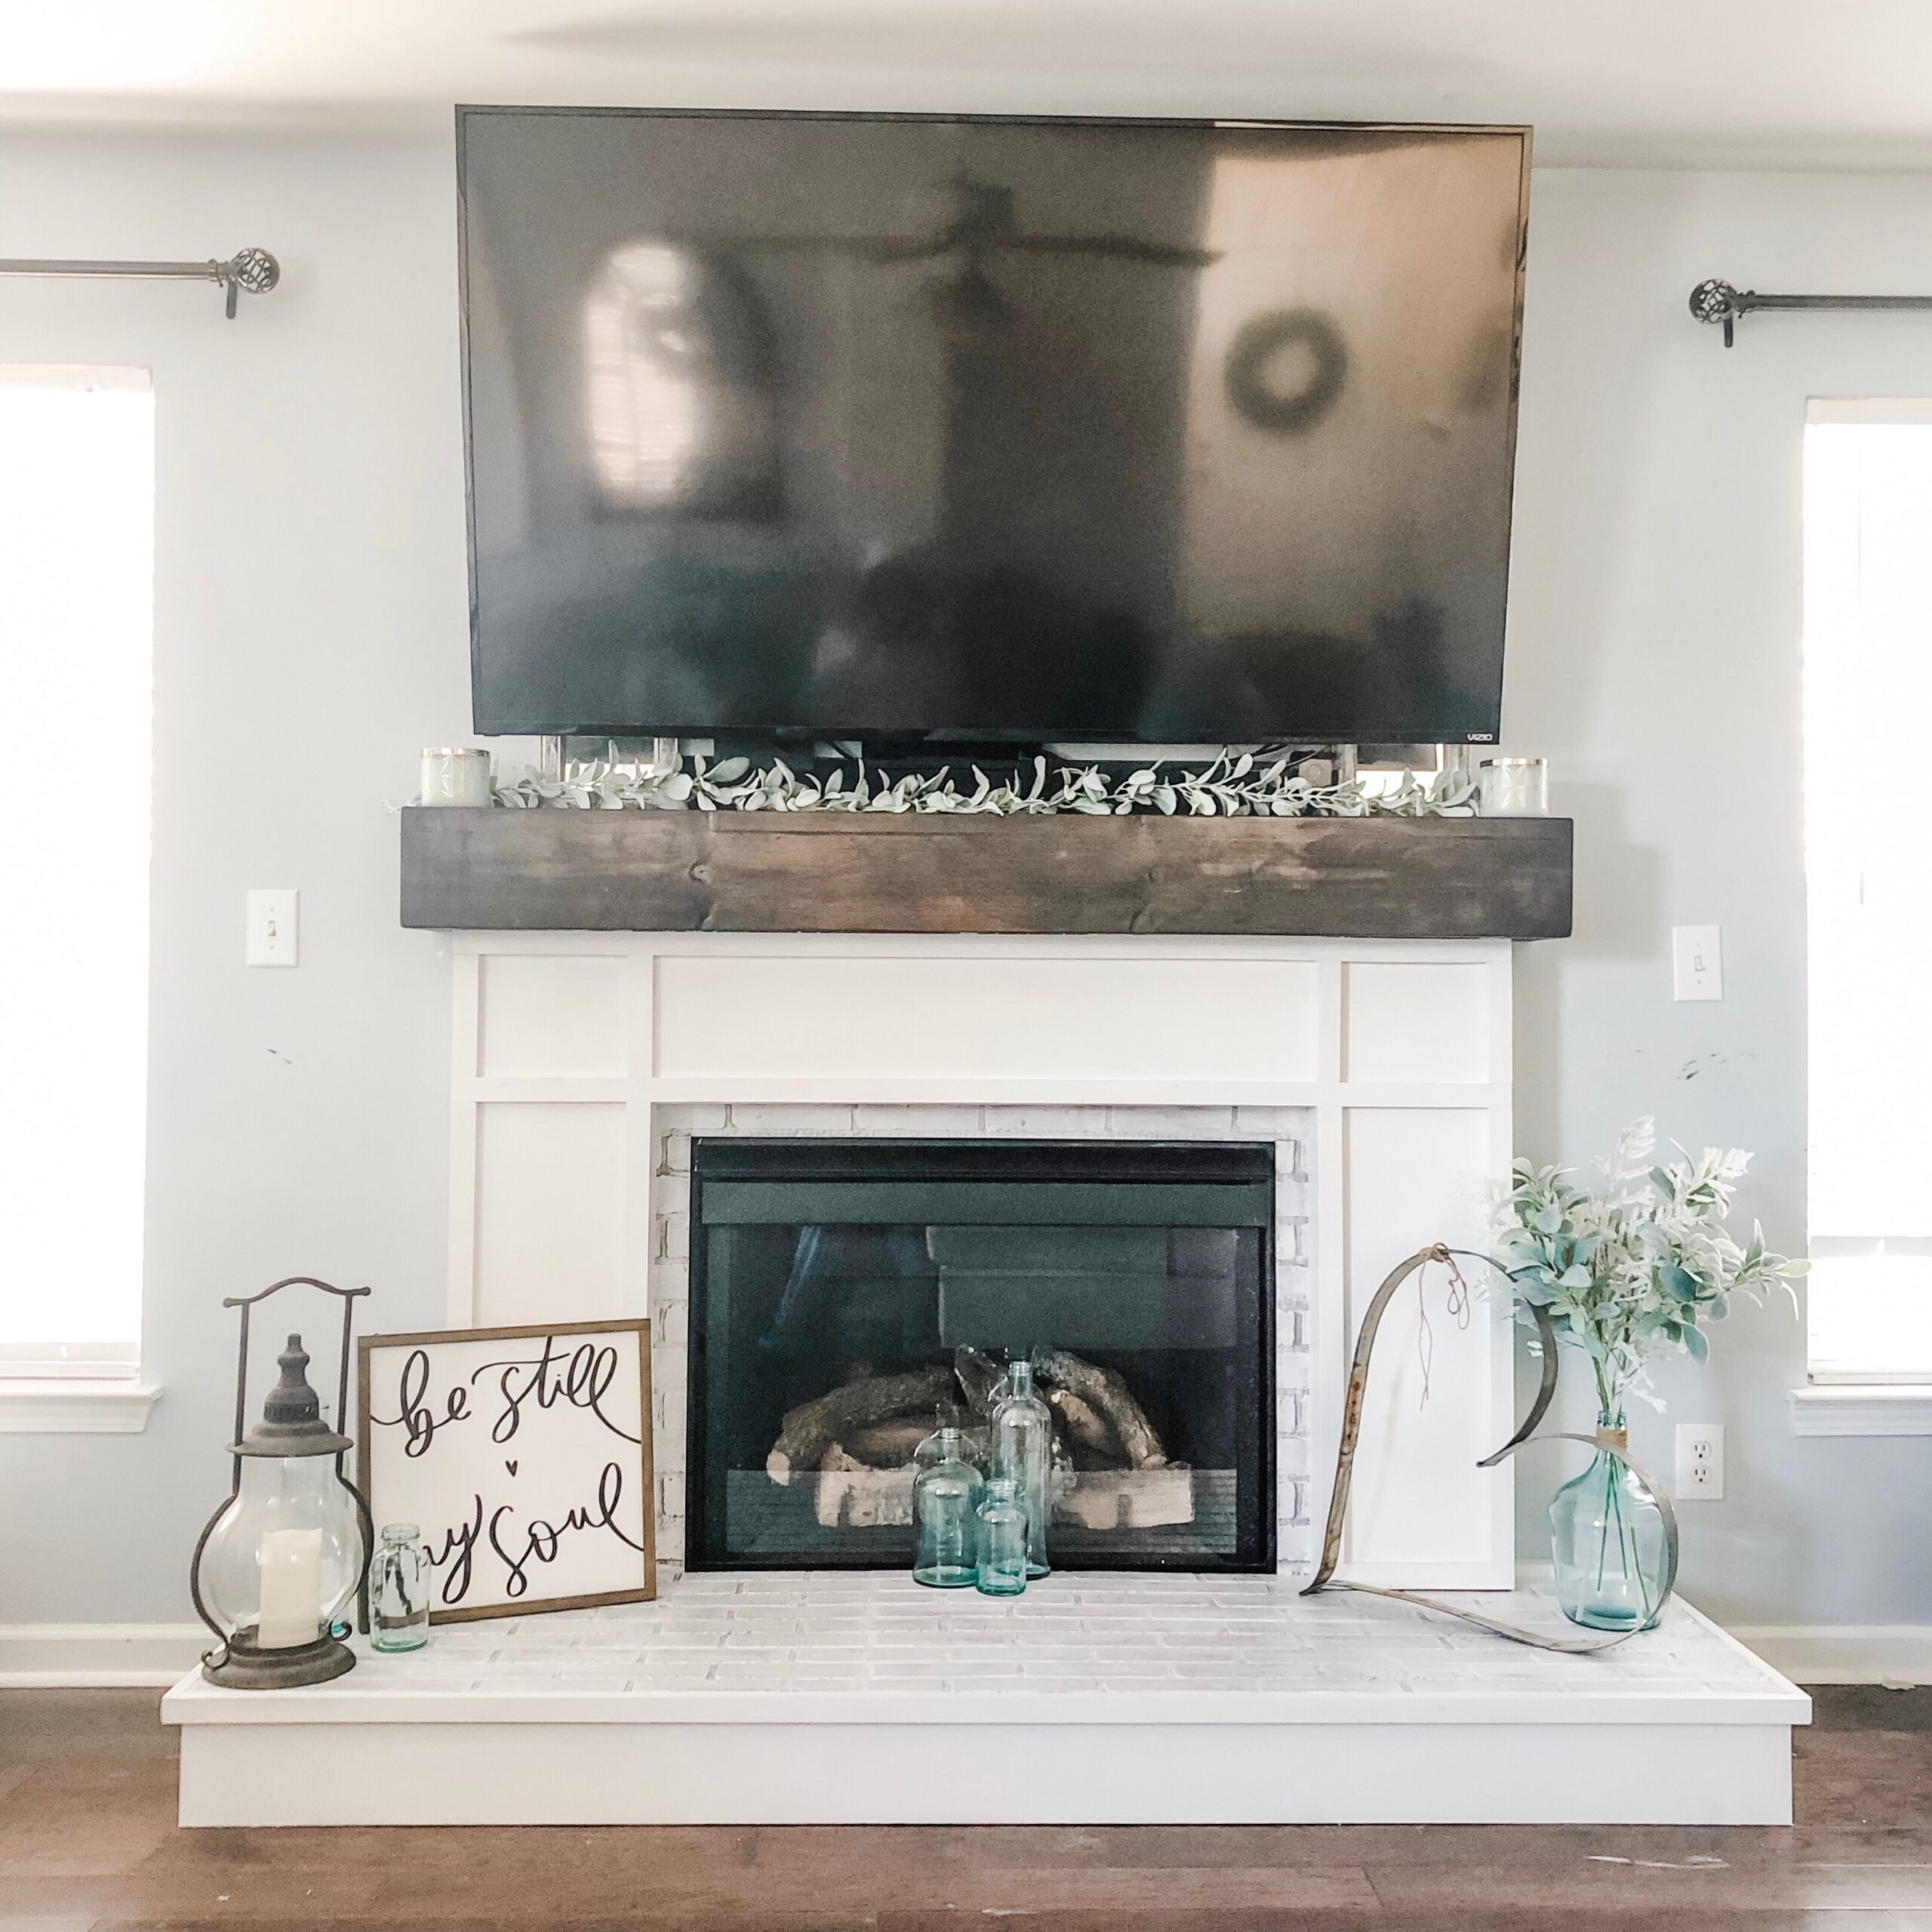
Easy DIY Solid Wood Shelving with Brackets
*We use affiliate links to support our blog and help our readers find exactly what they are looking for. By using our chosen links in this blog, we do earn a commission. Thank you!*
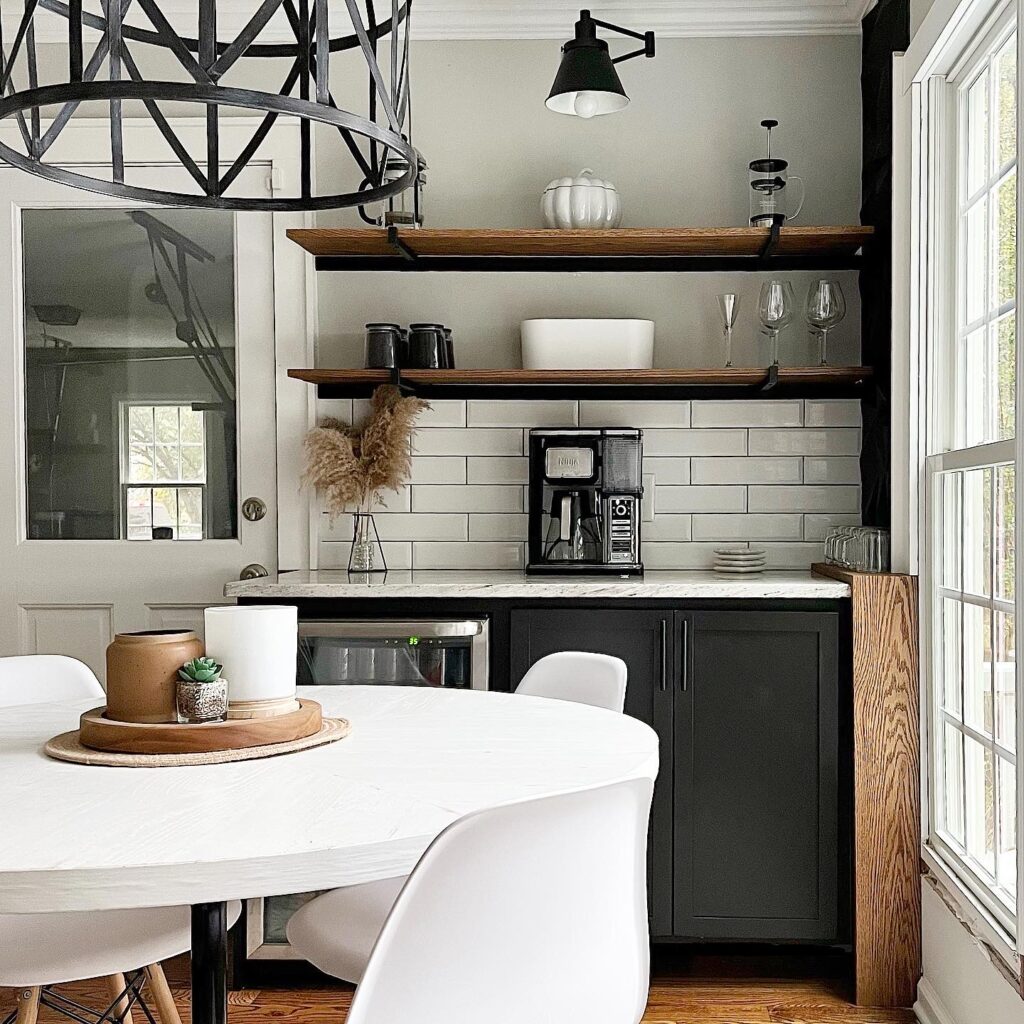
One thing I love having in any room is some open shelving. I am slowly redoing our house to be a more “Organic Modern” theme and these shelves hit the nail on the head. I love the industrial-ness of the black metal brackets paired with the natural look of stained wood. They are super easy to build and install too which is a plus. I am going to share with you the easy steps to creating these shelves for your home!
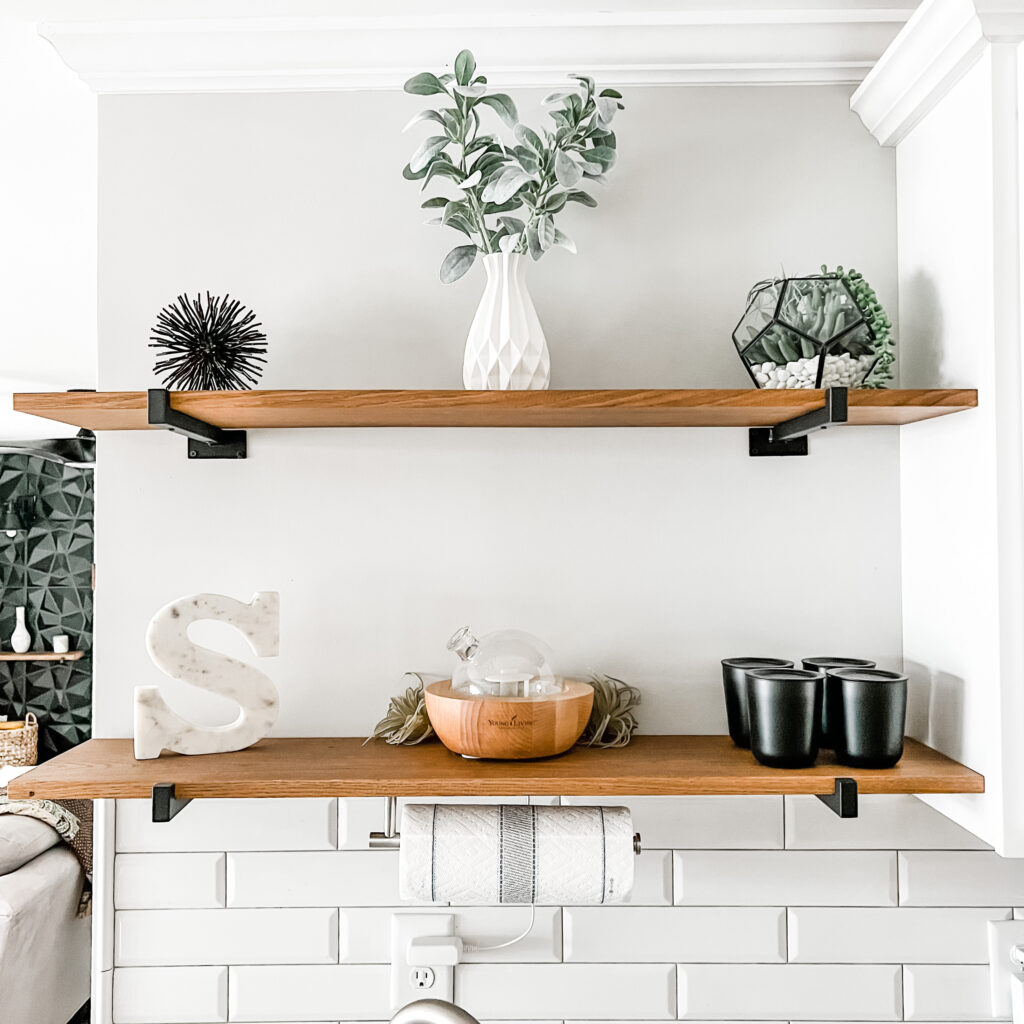
Step 1: Get 1x Wood
The first step is finding the wood you’d like to use for your shelves. I used oak for my shelves in the main photo and throughout my house, but in this tutorial I am using pine. You can get pine, oak, and poplar 1x boards (meaning they are 3/4″ thick) from your local big box stores, or if you want a different wood you can find a specialty lumber store near you that has more options. You want to make sure the board is nice and straight with no cupping, bowing, or twisting and also that is is dry (wet wood from mills etc will move and warp on you). I recommend getting a moisture meter to test your wood before building anything!
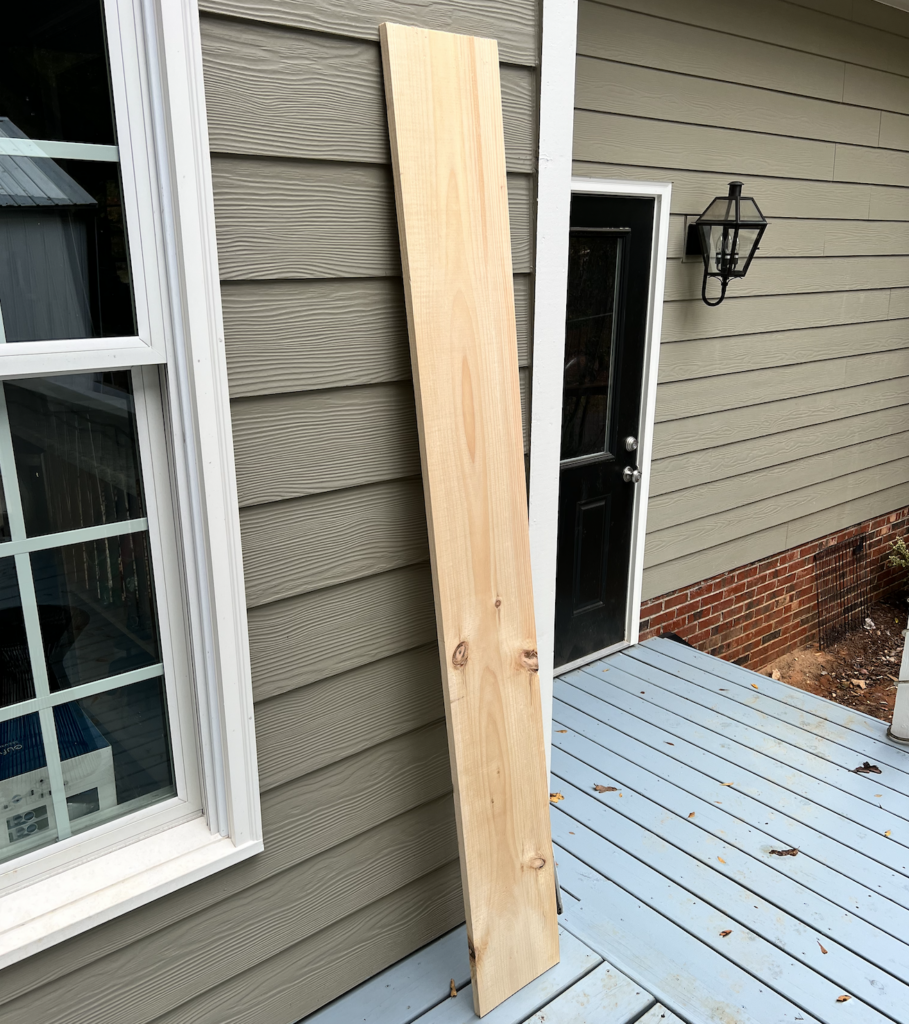
Step 2: Rip To Depth Size
More than likely, the wood you purchase will need to be ripped down to the correct depth size of the brackets you purchase. I like to use 8-12″ size brackets as I feel that range is good for shelves. Not too small, not too big. This board I purchased was 9.25″ wide so I ripped it down using my table saw to 8″ for the 8″ brackets I purchased.
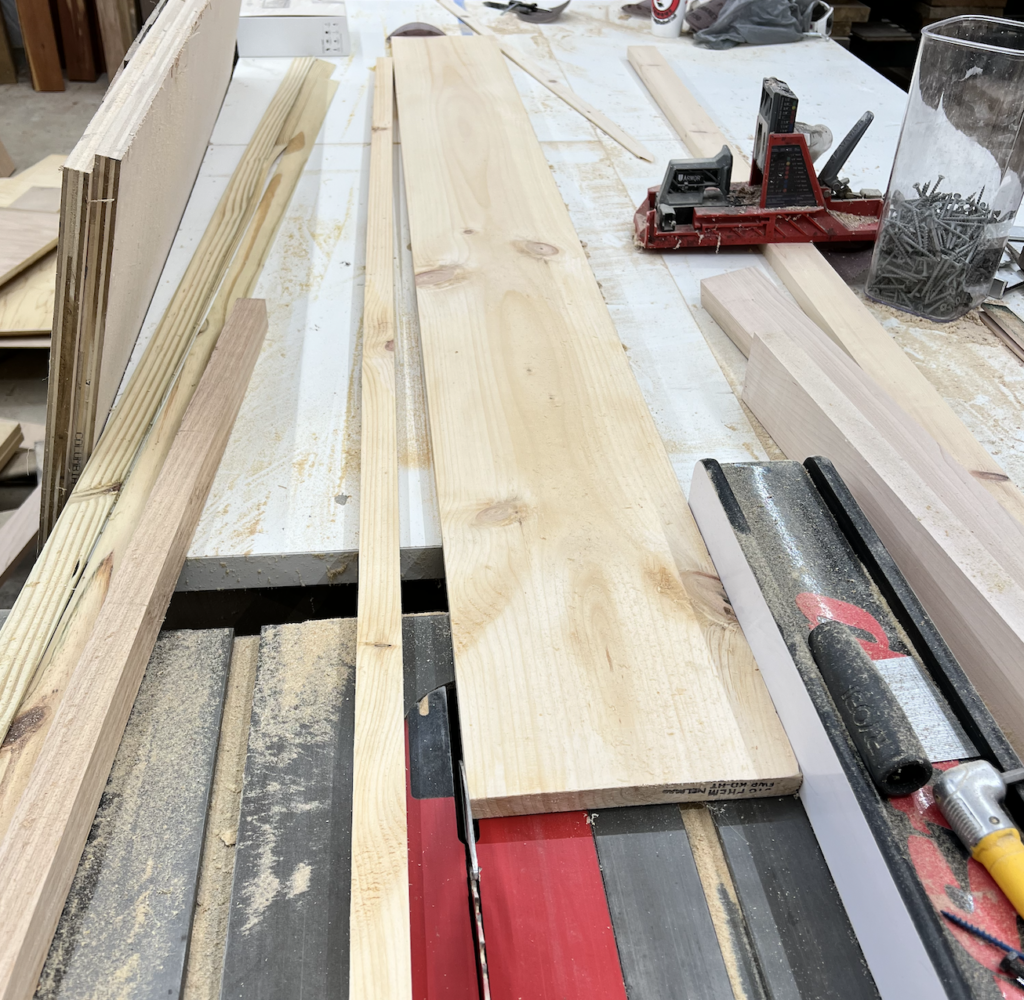
Step 3: Cut To Length
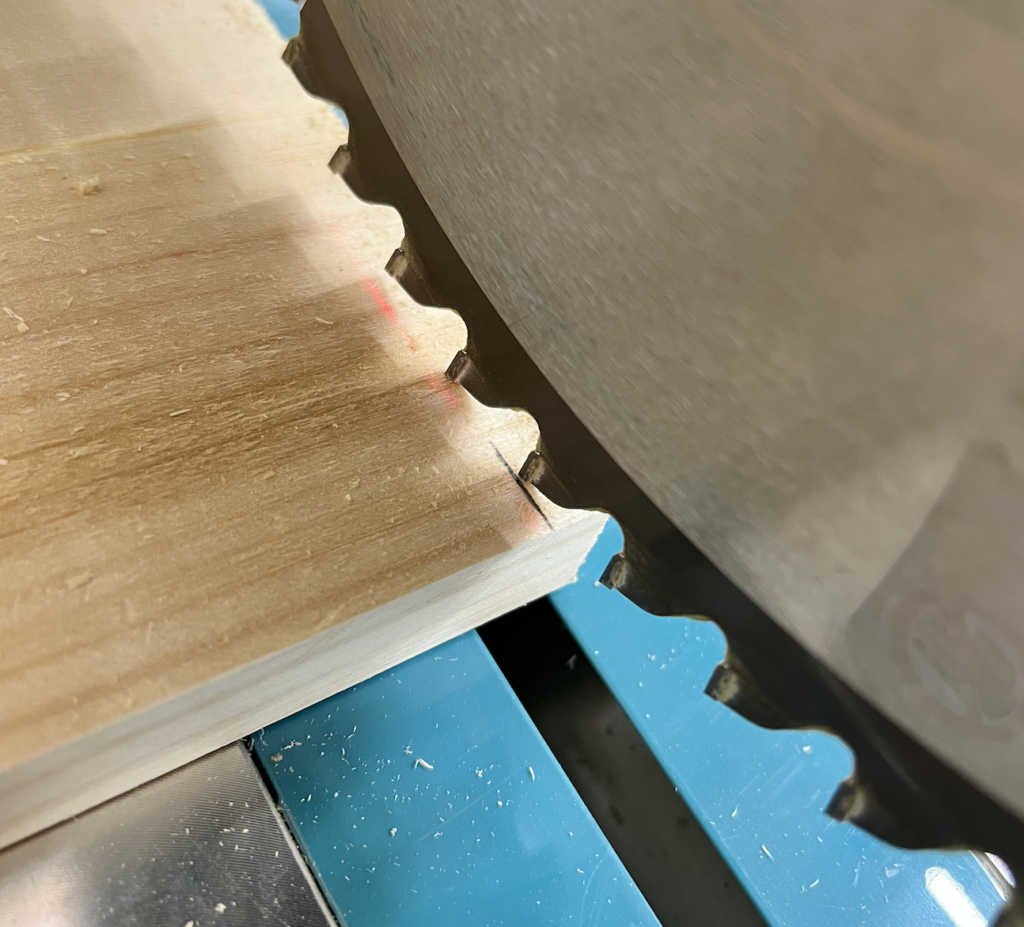
After ripping your board to the correct depth size on your table saw, you’ll then cut it to the correct length that you wish it to be using your miter saw. *Tip-when using your miter saw, always cut to the side of your mark, never cut directly on top of your mark as you will cut your bored short since the saw blade is 1/8″ thick. In this application, it is not super important, but when doing things such as trim work, it is important to be precise! So, it is good to do this in all applications so it becomes muscle memory.
Step 4: Sand
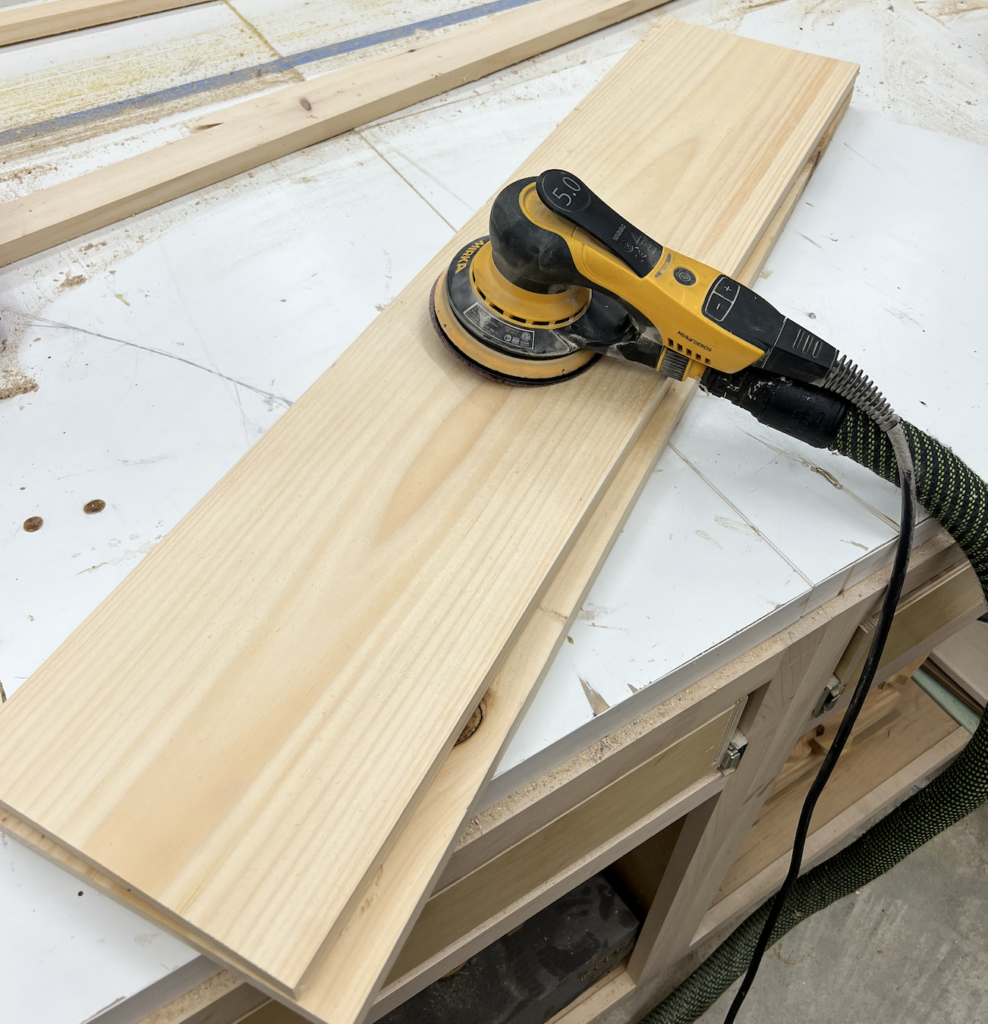
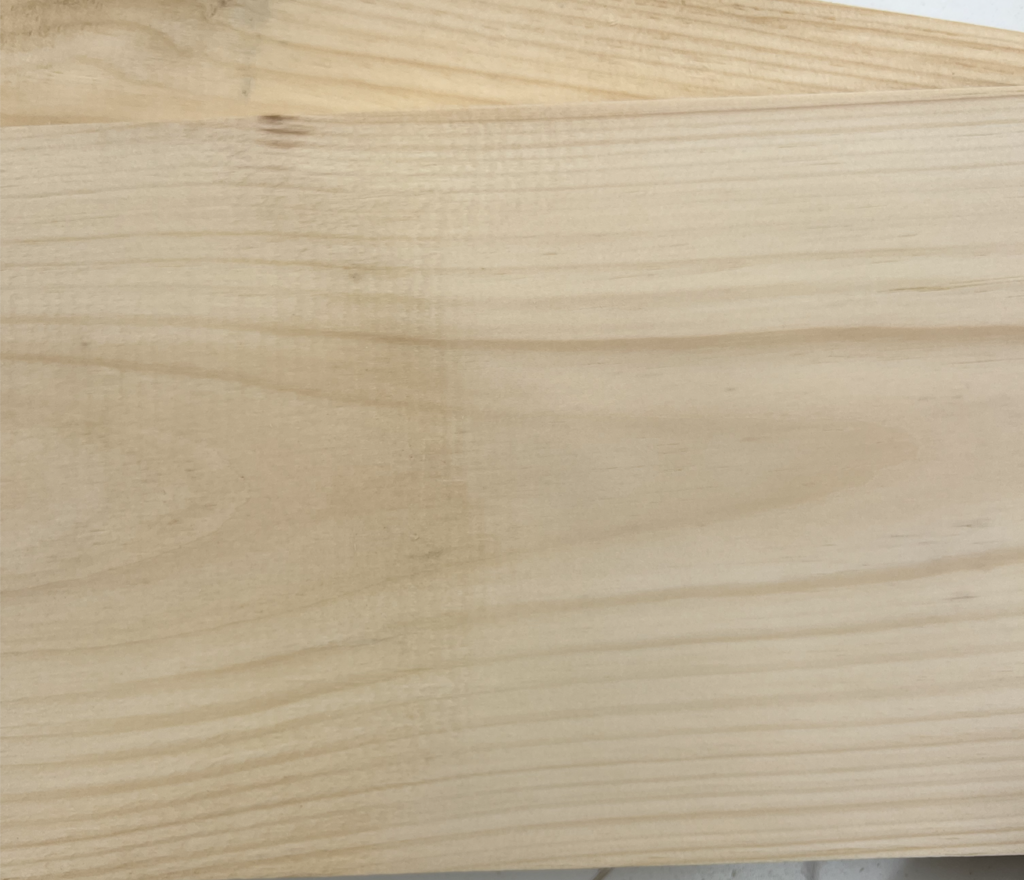
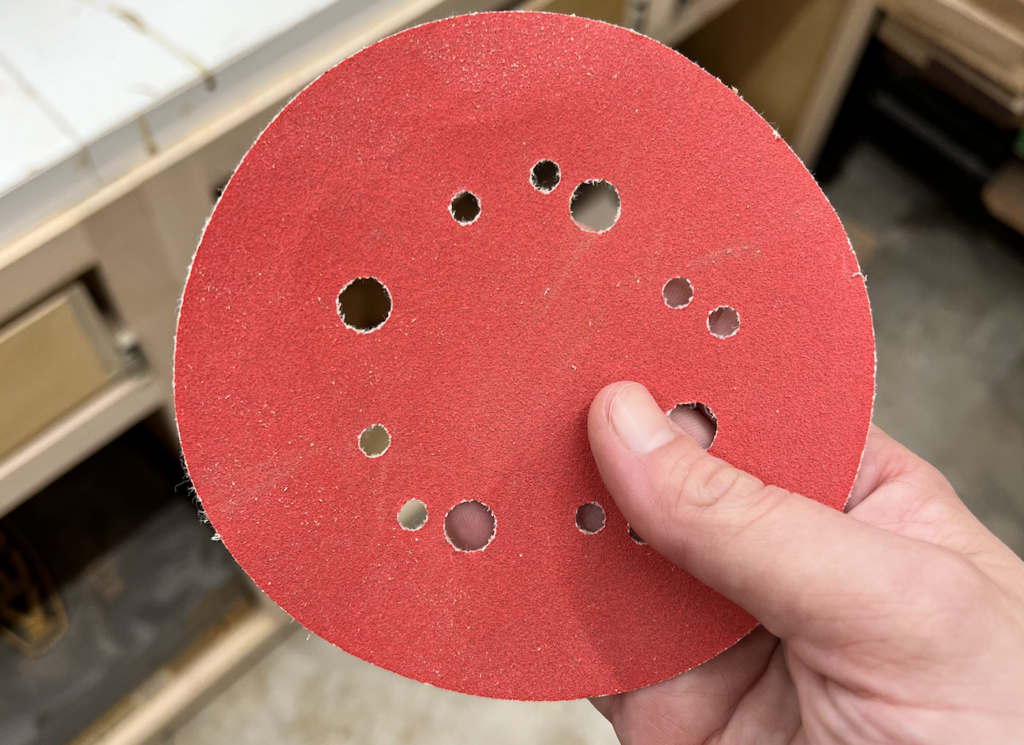
The next step is to sand your boards smooth. I use my random orbital sander with 150 grit sandpaper. As you can see in the photo below, the left is un-sanded and the right is after being sanded. Sanding not only makes the boards smooth, but it allows for more even stain penetration just in case there was anything on the surface of the boards to prevent stain from absorbing.
Step 5: Stain
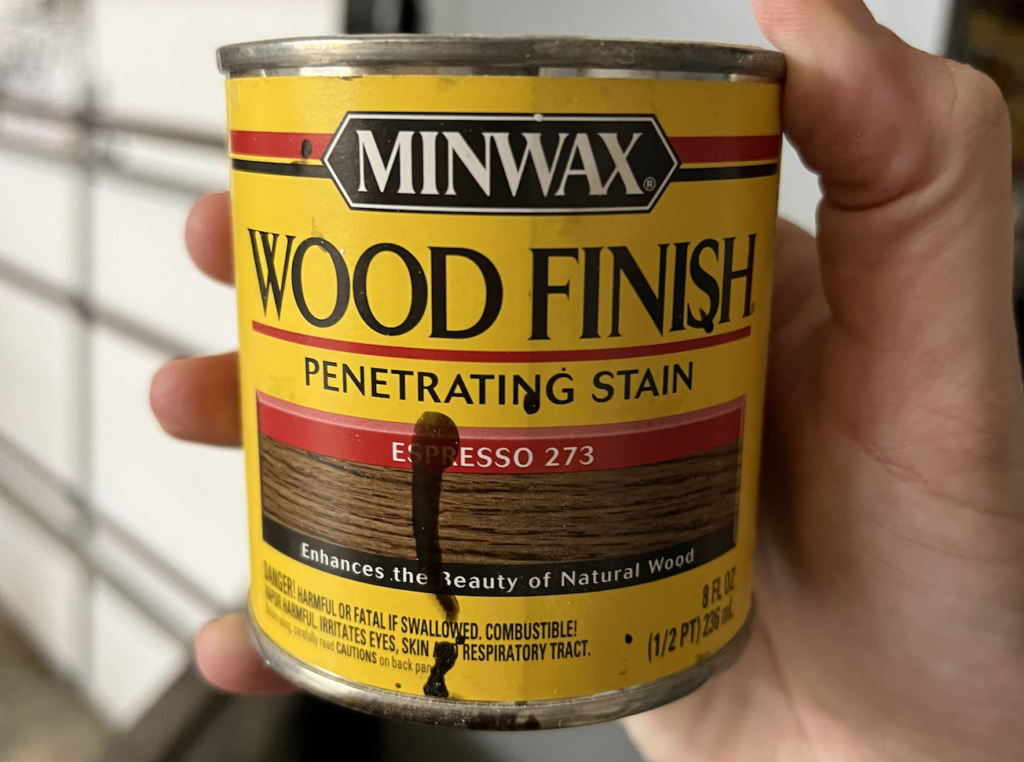
I prefer to use Minwax premium oil penetrating stains. There are numerous other brands out there, but this brand is the one that works best for me. In this tutorial, I am going to be using their espresso stain.
When staining, I like to use a foam brush. To ensure even staining, I make long even strokes going with the grain (not against it). For me, this works better than using pre-stain as it not only removes a step and takes less time, but I get better results.
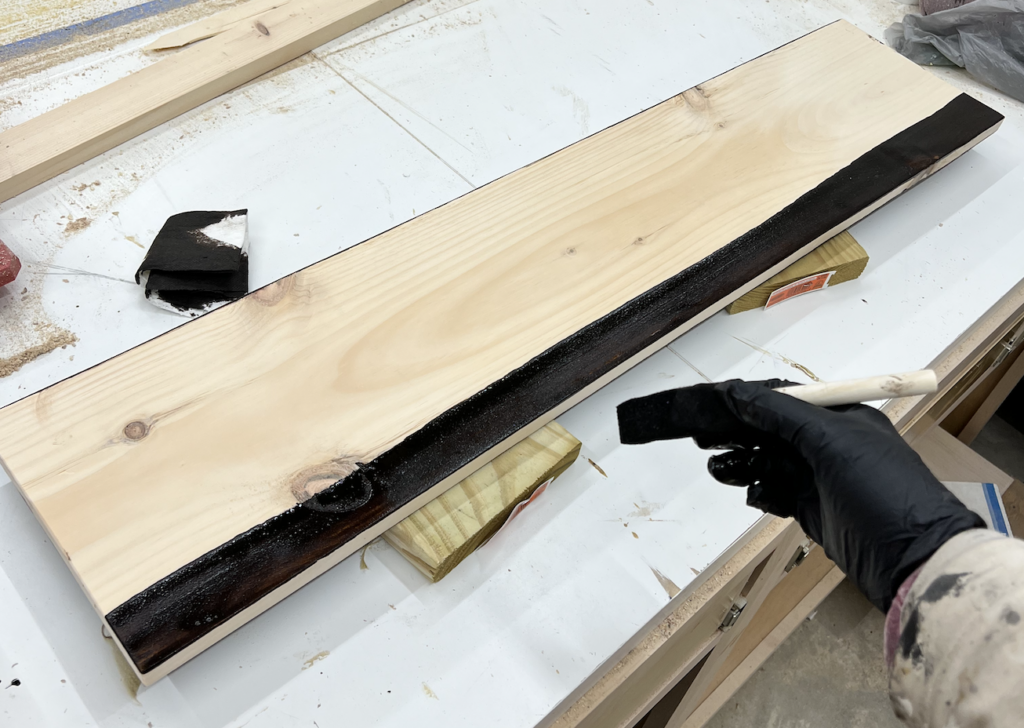
Apply the stain liberally to the entire board using this method making sure not to miss any areas.
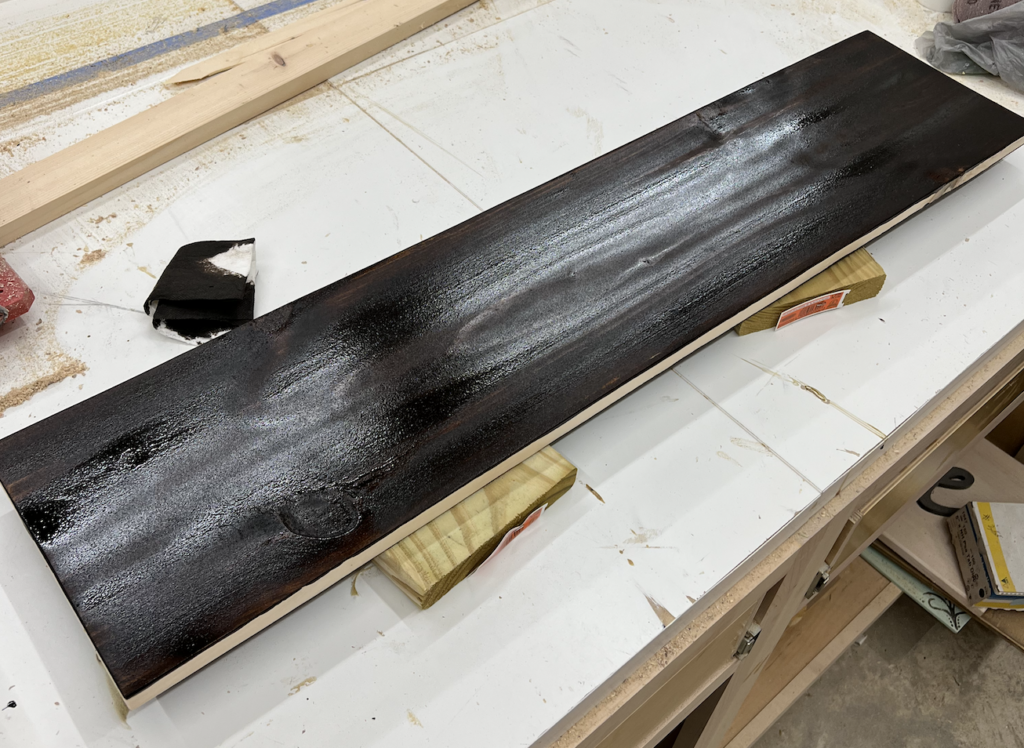
After the entire surface is stained, immediately wipe off any excess stain. You don’t want it to dry sticky.
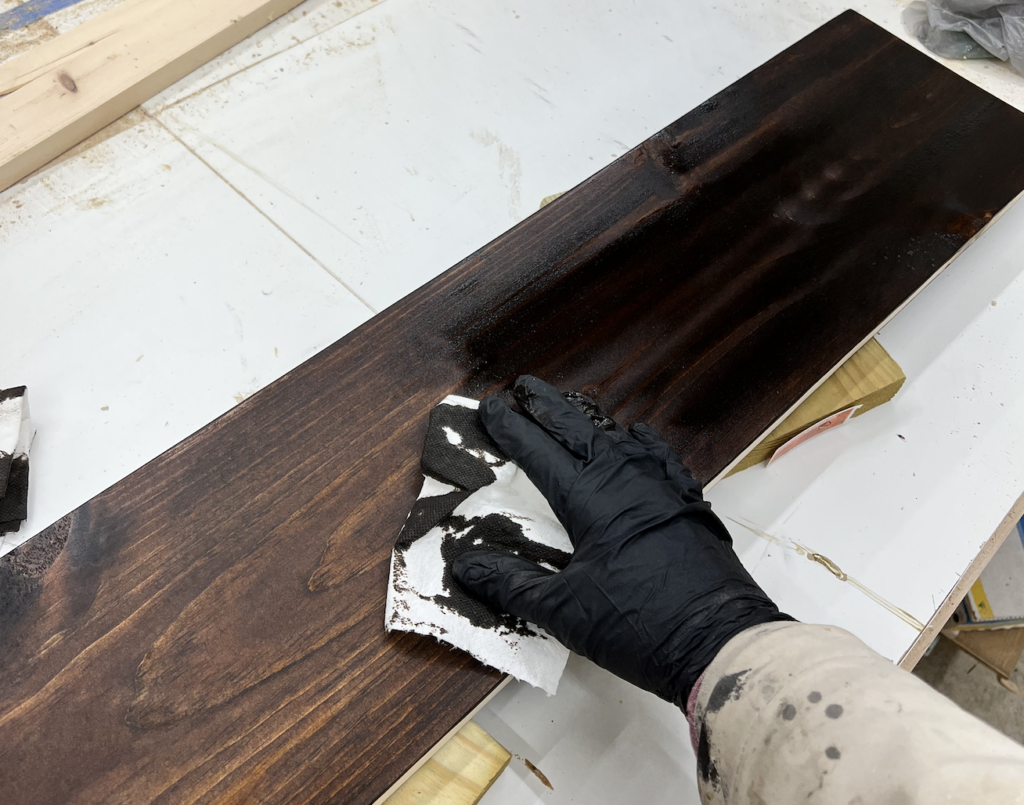
Do this to all four sides and ends of the board so the entire board is stained and let dry for at least 6 hours.
Step 6: Seal
My sealant of choice is Minwax Polycrylic. It dries quick and dries crystal clear-no yellowing. I also prefer Satin out of all of the finishes (they have matte, satin, semi-gloss, and gloss). You can buy it both by the gallon, quart, pint or in the aerosol spray can. For my larger projects such as my tables, I use the gallon jug and my HVLP sprayer, but for small projects like this I just use the aerosol cans so I don’t have to clean out my sprayer.
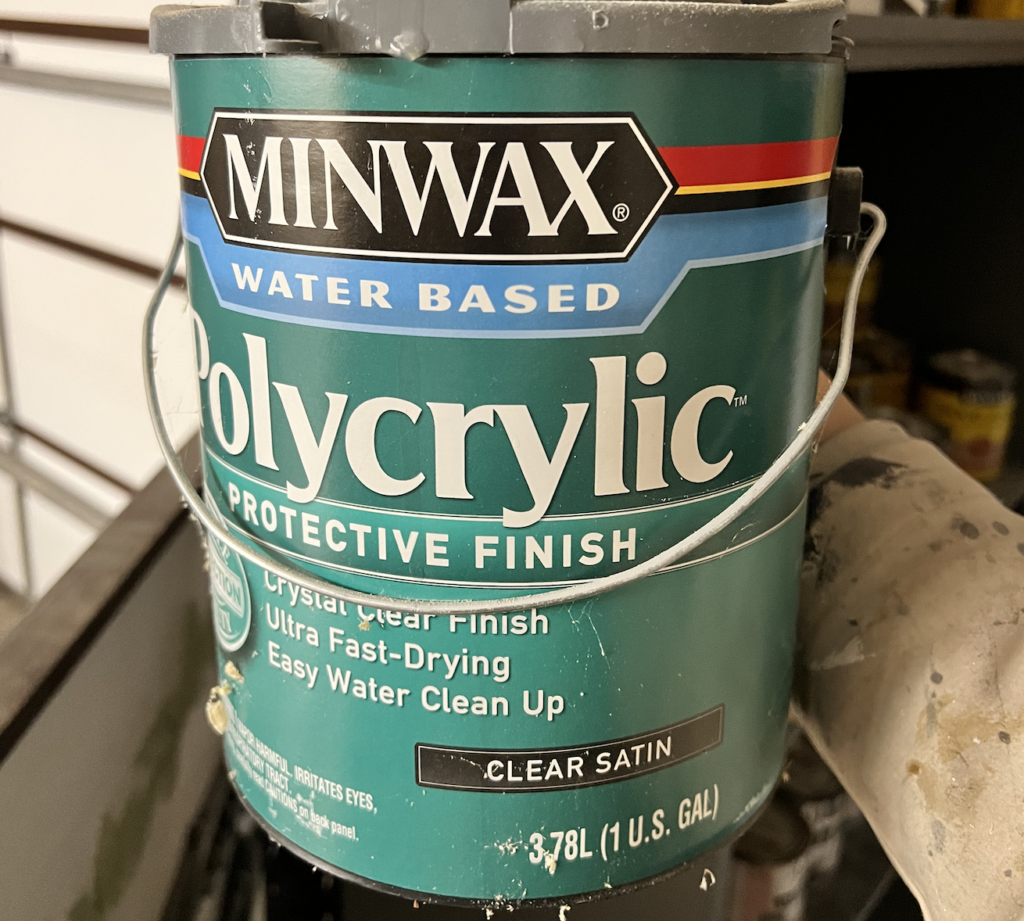
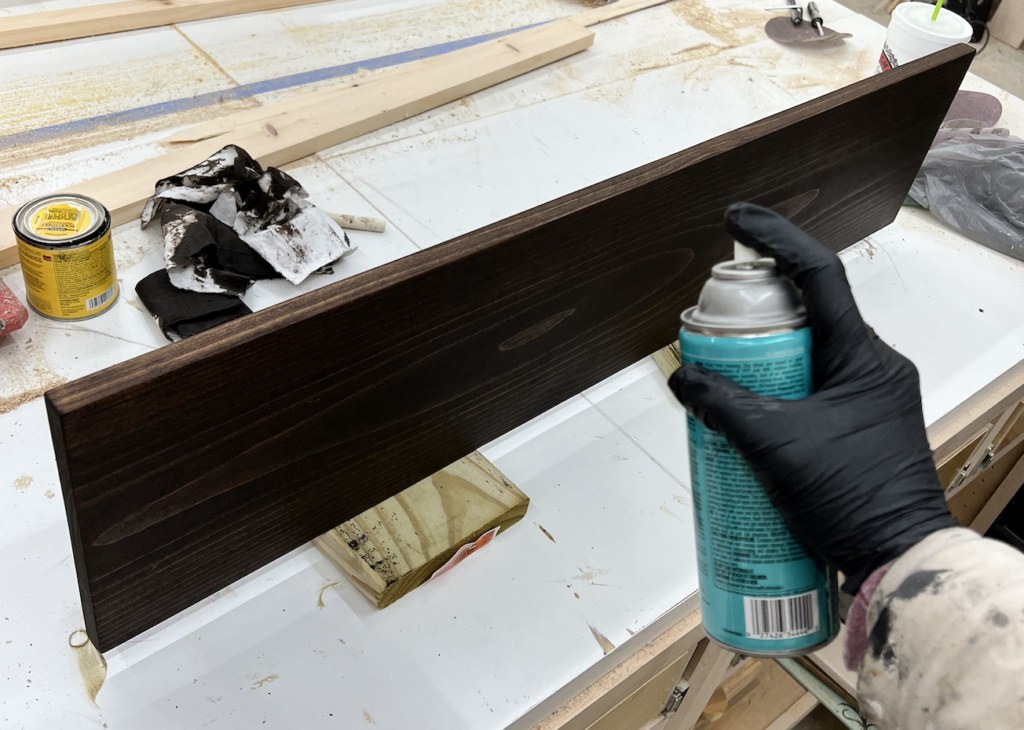
After the first coat dries, lightly hand sand using 220 grit sandpaper to get rid of any roughness from possible grain raising. Wipe off any dust using a tack cloth, and then apply a second coat.
Optional: For extra durability you can sand and seal with a third coat.
Step 7: Install
Following the instructions that come with the shelf brackets, install the brackets to your wall. If the brackets don’t line up with a stud, be sure to use the provided wall anchors. Make sure the two brackets are level and spaced how you’d like them in relation to the length your boards are. Once the brackets are secured to the wall, place your board on top making sure it is centered, and attach to the brackets using the provided screws through the holes underneath. After that, decorate and enjoy!
*We use affiliate links to support our blog and help our readers find exactly what they are looking for. By using our chosen links in this blog, we do earn a commission. Thank you!*

